
Read about our experience hiking the Camino Precolombino Choro (El Choro) hike near La Paz, Bolivia. Included is some logistical information about the hike, up to date information about the state of the trail (after the 2018 flood), and some honest advice on what it’s actually like to walk.
Getting there
Taxi & Minibus: 60-90bs
From La Paz, you can either take a mini bus or a taxi to the trailhead. We took a minibus, which involved taking a taxi (30bs from central La Paz) to the bus terminal in Villa Fatima district (tell your taxi driver you’re going to Coroico so he knows where to drop you). There, you can catch a minibus headed to Coroico, but tell them to drop you off at La Cumbre. We opted for a 30bs per person minibus as it was almost full and would be the first to leave. We could have opted for a 20bs per person minibus, but would have had to wait for it to fill – who knows how long that’d take. We were keen to get started on the hike, so the choice was easy for us.
Taxi: 80-100bs
The other option, rather than paying around70-90bs for 2 people via the taxi and bus option, is to just get a taxi to the trailhead. I believe this costs around 80bs, and has the bonus of getting a lift up to the top of Abra Chucura (and saving yourself 4km of walking uphill in high altitude). In hindsight, we should have taken this option, but were happy to experience what it is like to hike in such high altitude as we will need to do more of it in Peru.
Hitchhike: Free
Finally, you can hitchhike. Since there is so much traffic on that road to Coroico, I guess this would be a good option. But not having considered or researched this myself, I can’t advise for or against this option or how to even go about doing it. Feel free to post your experiences in the comments and I’ll update the post accordingly.
The Hike
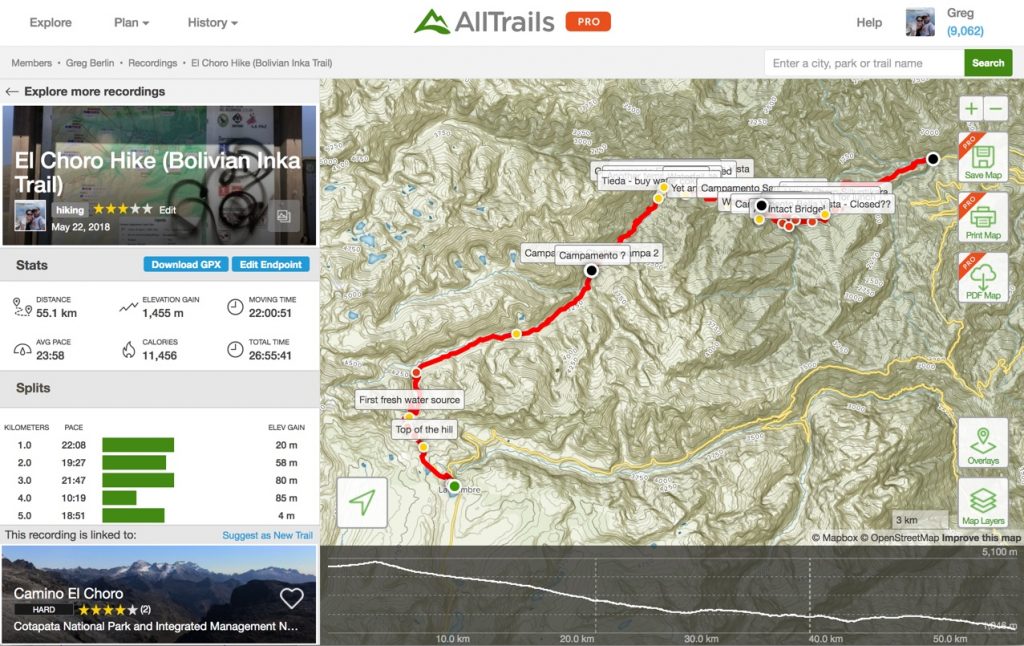
Total distance: 51.5km (we recorded 54.9km)
Days to complete: 2-4 (we did it in 3 days. Read below for recommendations)
Starting Altitude: 4,665m above sea level
Highest Altitude: 4,875m above sea level
Lowest Altitude: 1,301m above sea level (at Chairo – end of hike)
Dates Hiked: May 22-24, 2018
AllTrails Statistics
Below, you can see our AllTrails recording of the hike. As nobody had recorded it to AllTrails before, I added some waypoints along the way. You can use this to clearly see the elevation changes involved, as well as some important things to know about the current state of the trail (after the 2018 flood, which caused some serious damage).

Our Experience
The Decision
“Let’s go on an overnight hike”, she said. “We haven’t done one for ages, and there’s this one known as the Bolivian Inca Trail that sounds great”, she added.
I liked the sound of that. “How long is the hike?”, I asked.
“About 50km, but we can do it over 3 days. And it’s mostly downhill!”.
After some quick brain-calculations, I deducted that it would be around 15-20km of walking per day – definitely beyond our comfort level of around 10-15km per day. But then it’s mostly downhill, so that should make it much easier. I did some of my own research (this blog post; this Wiki Travel article; and Lonely Planet) and none implied that it was a very difficult hike. Why not, I thought…
How very wrong I was!!
“Sure”, I said. And so it came to be, that we prepared and set off on the El Choro trek early on the morning of the 22nd May, 2018.
Getting Started
After having done a bunch of multi-day hikes on this trip so far, preparing for this one was a breeze. We went to the biggest supermarket we could find in La Paz and stocked up on food for breakfasts (porridge and instant coffee), lunches (wraps with peanut butter, cheese and boiled eggs) and dinners (leftover fried rice, and noodles and veggies for the second night). We also bought the obligatory sugary energy food (Snickers bars, nuts, and sugar lollies for on the trail energy boosts). We spent a total of about 240bs – not bad for 3 days worth of food!
Back at the hostel we repacked our bags (again, this was a breeze with the help of our hiking checklist), cooked dinner (half of which would be dinner for night 1 on the trail), and got an early night.
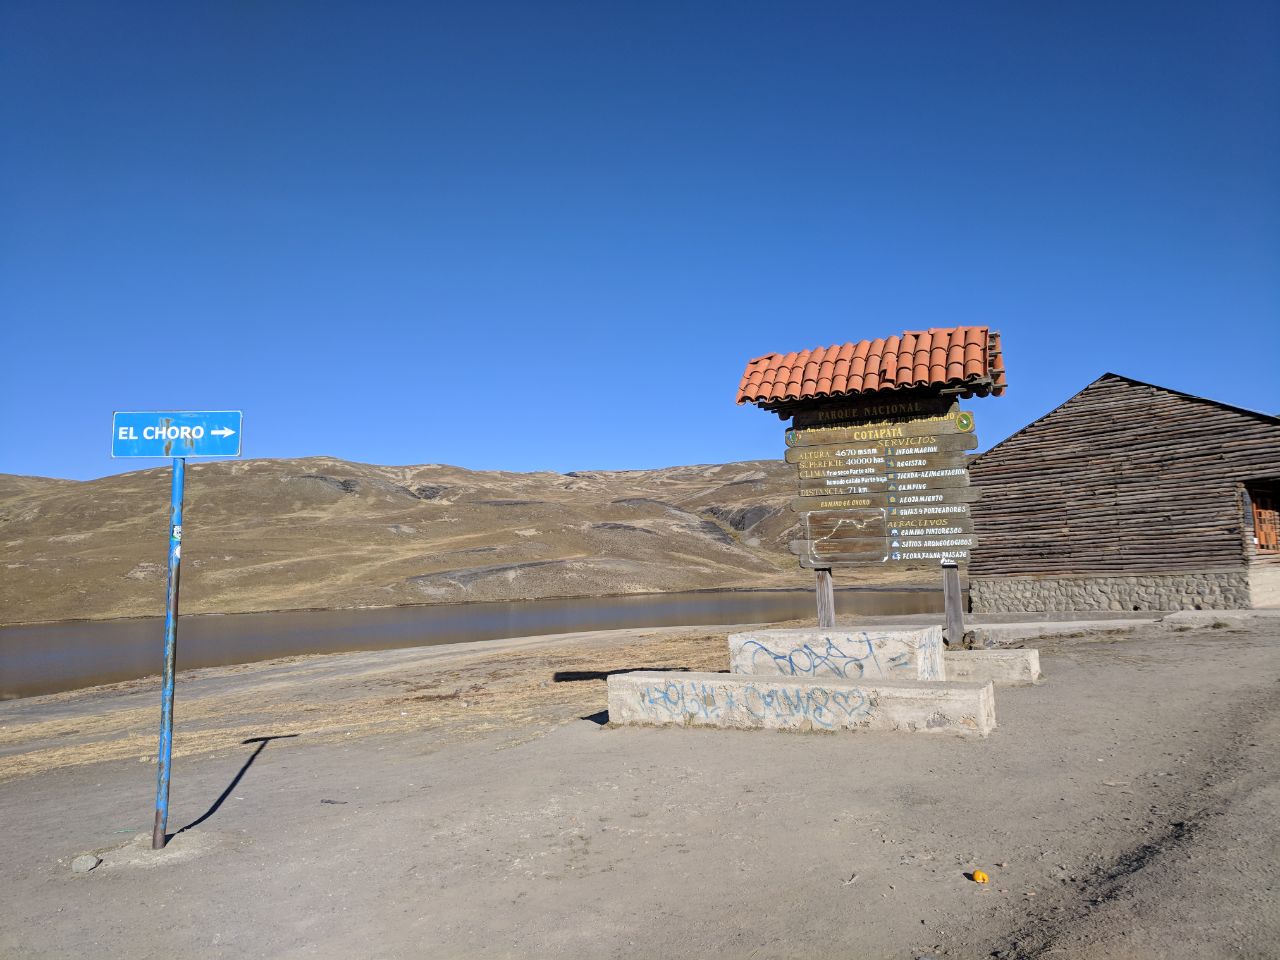
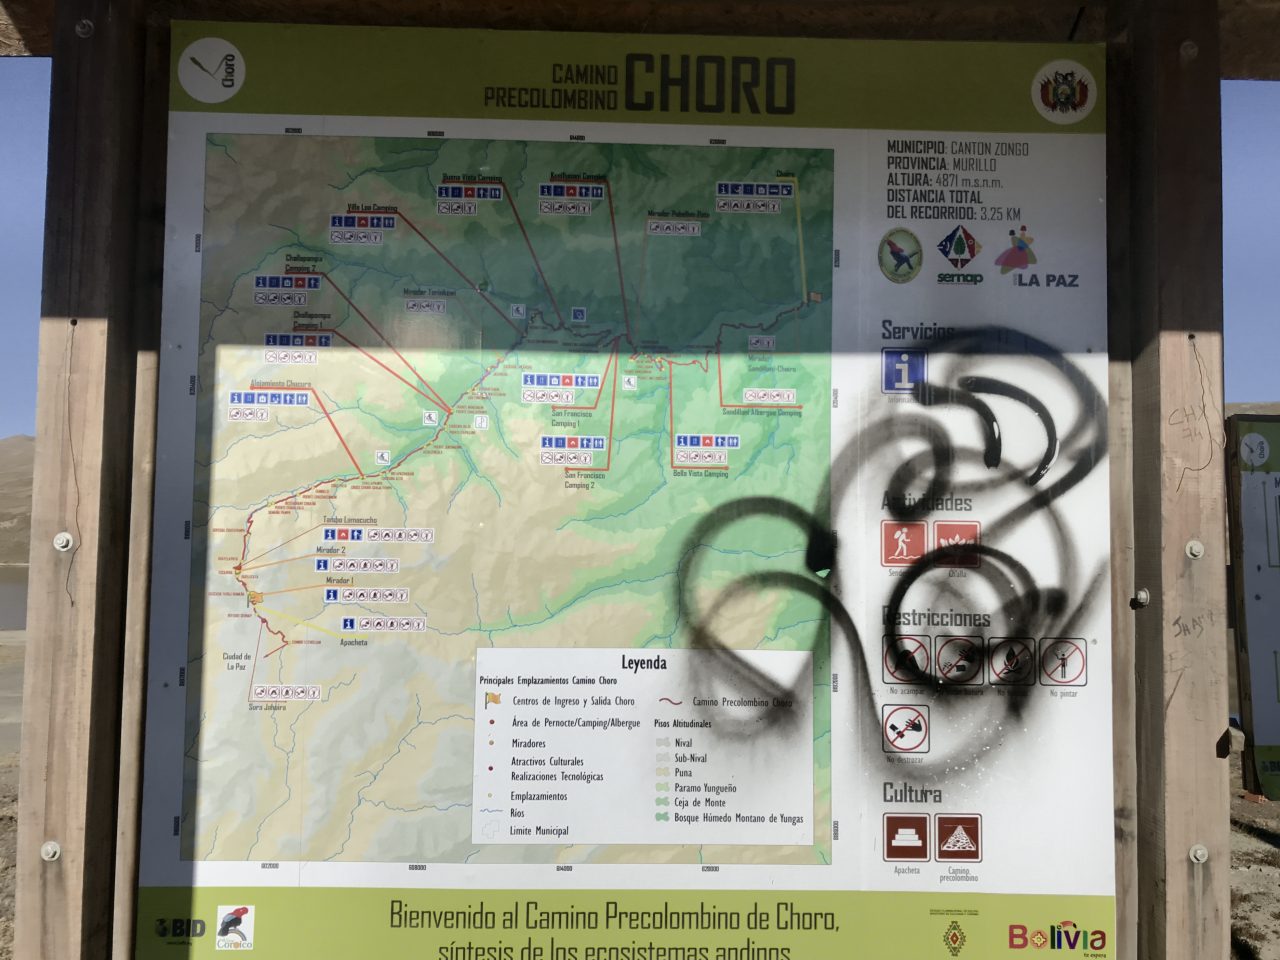
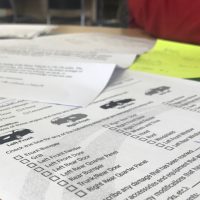
We got up at 6am, had breakfast, stored our extra bags and were on the road just after 7am. We got a taxi to the bus terminal and within minutes were bundled into a minibus and on our way. 30 minutes later we were at the trailhead, registering for the hike, using the toilet and photographing the maps.
Photos of the maps are below, but note (as per normal Bolivian misinformation standards) that much of the data is incorrect. For example, many of the campsites on the maps are now closed, and the elevation differences shown on the maps do not take into account the elevation changes that occur in between the 2 points, only the difference in elevation.


Day 1 – Up up up, and dooooooooown. The pain begins.
The start of the hike is innocent enough. You walk along a dirt road, mostly uphill, for a total of just under 4km. They say it should take an hour, but in reality (for most of us at least) it’ll take longer. You are, after all, at just under 5,000m altitude, which makes that one thing we do that don’t think about – breathing – so much more difficult.
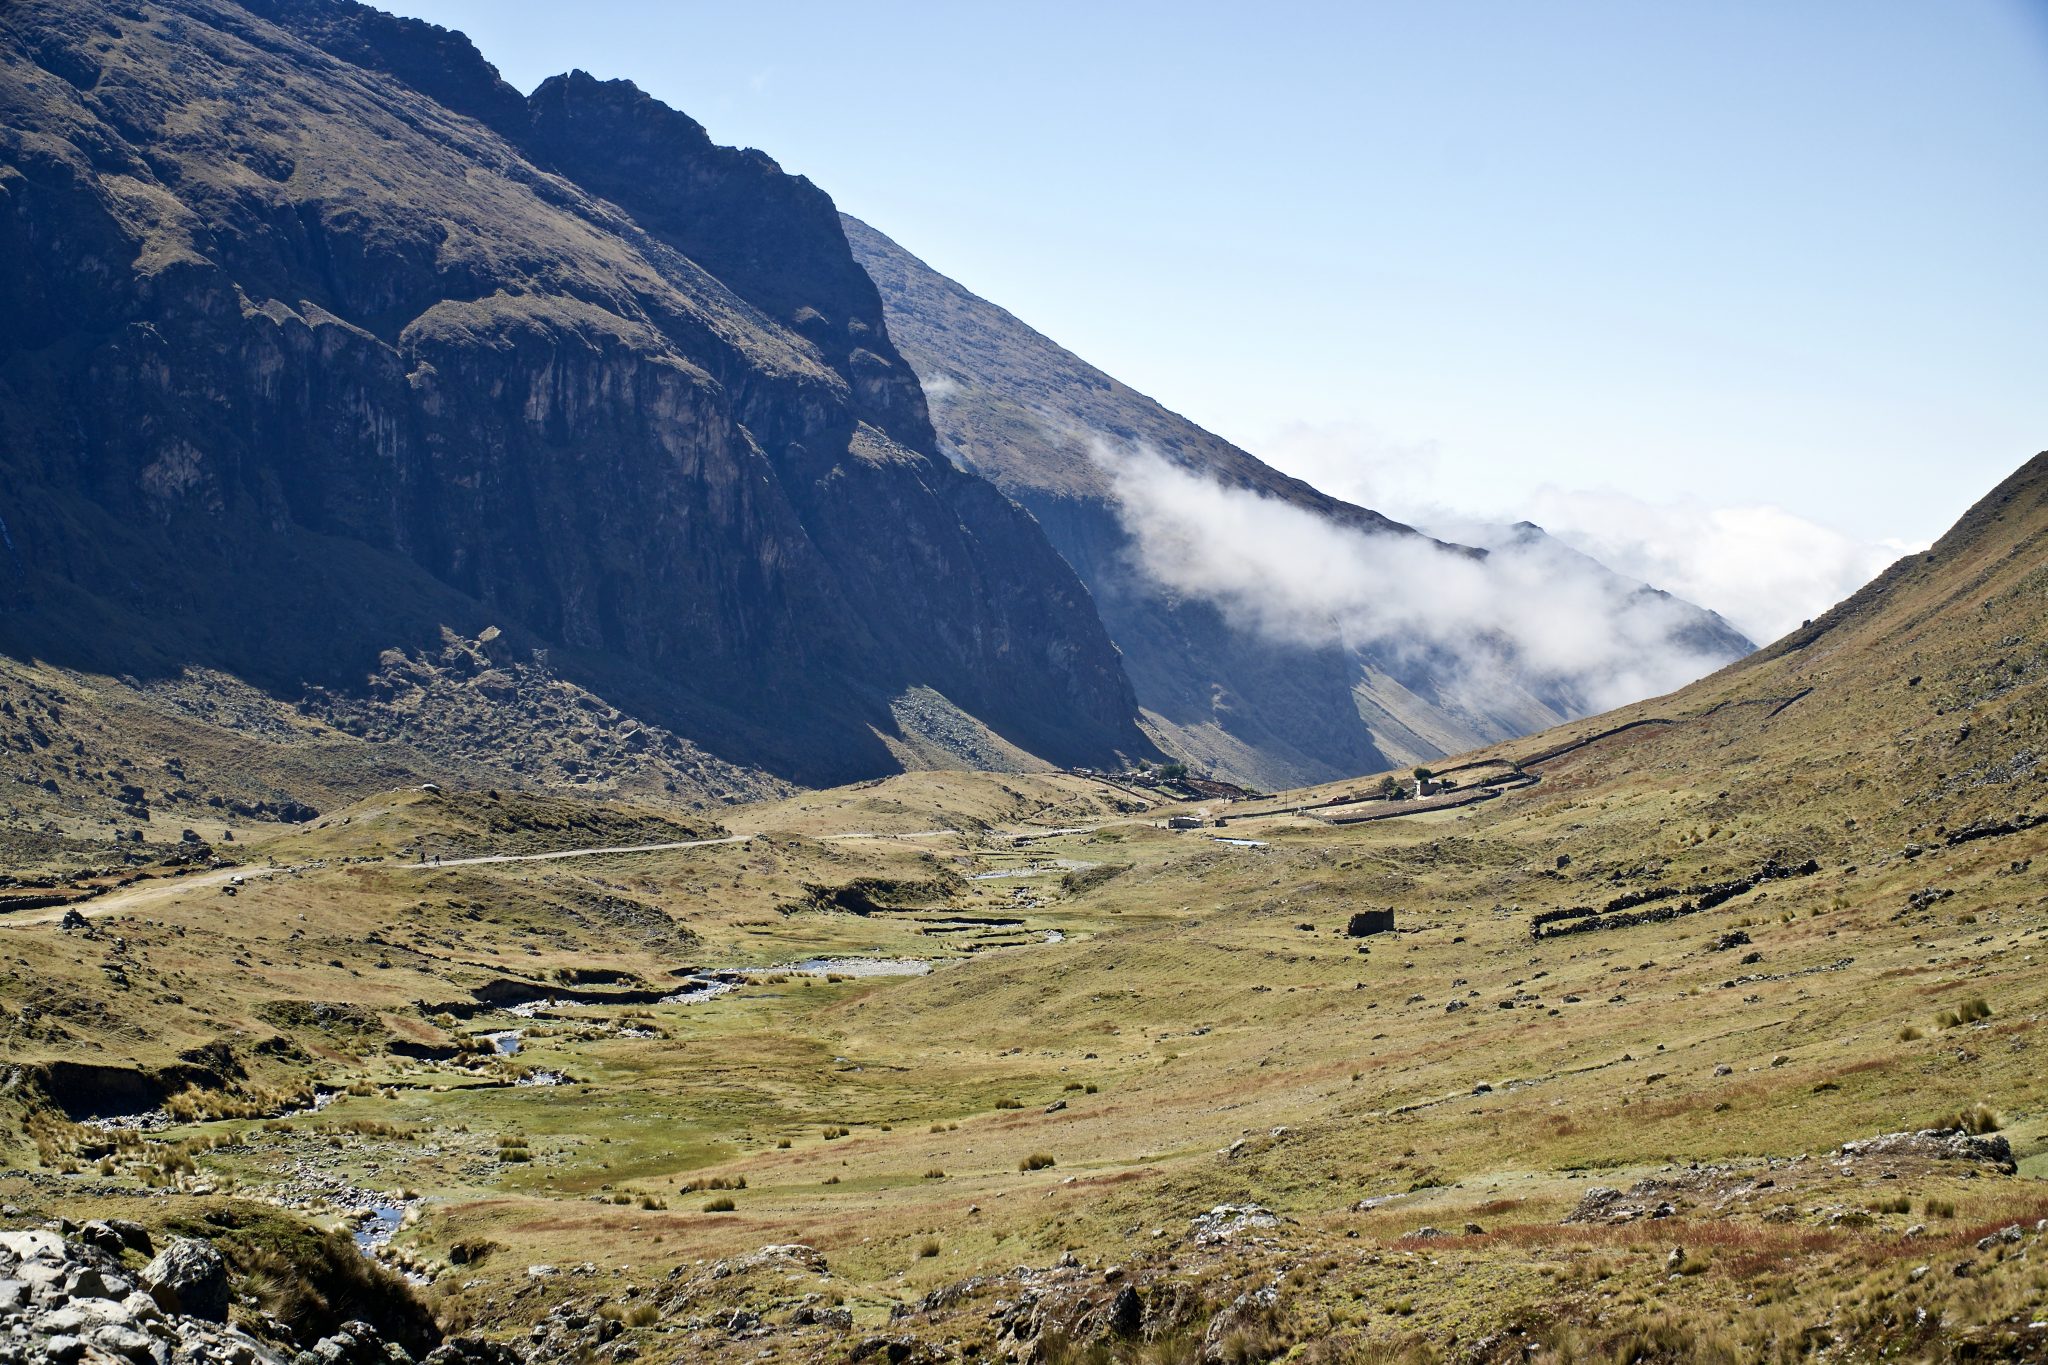
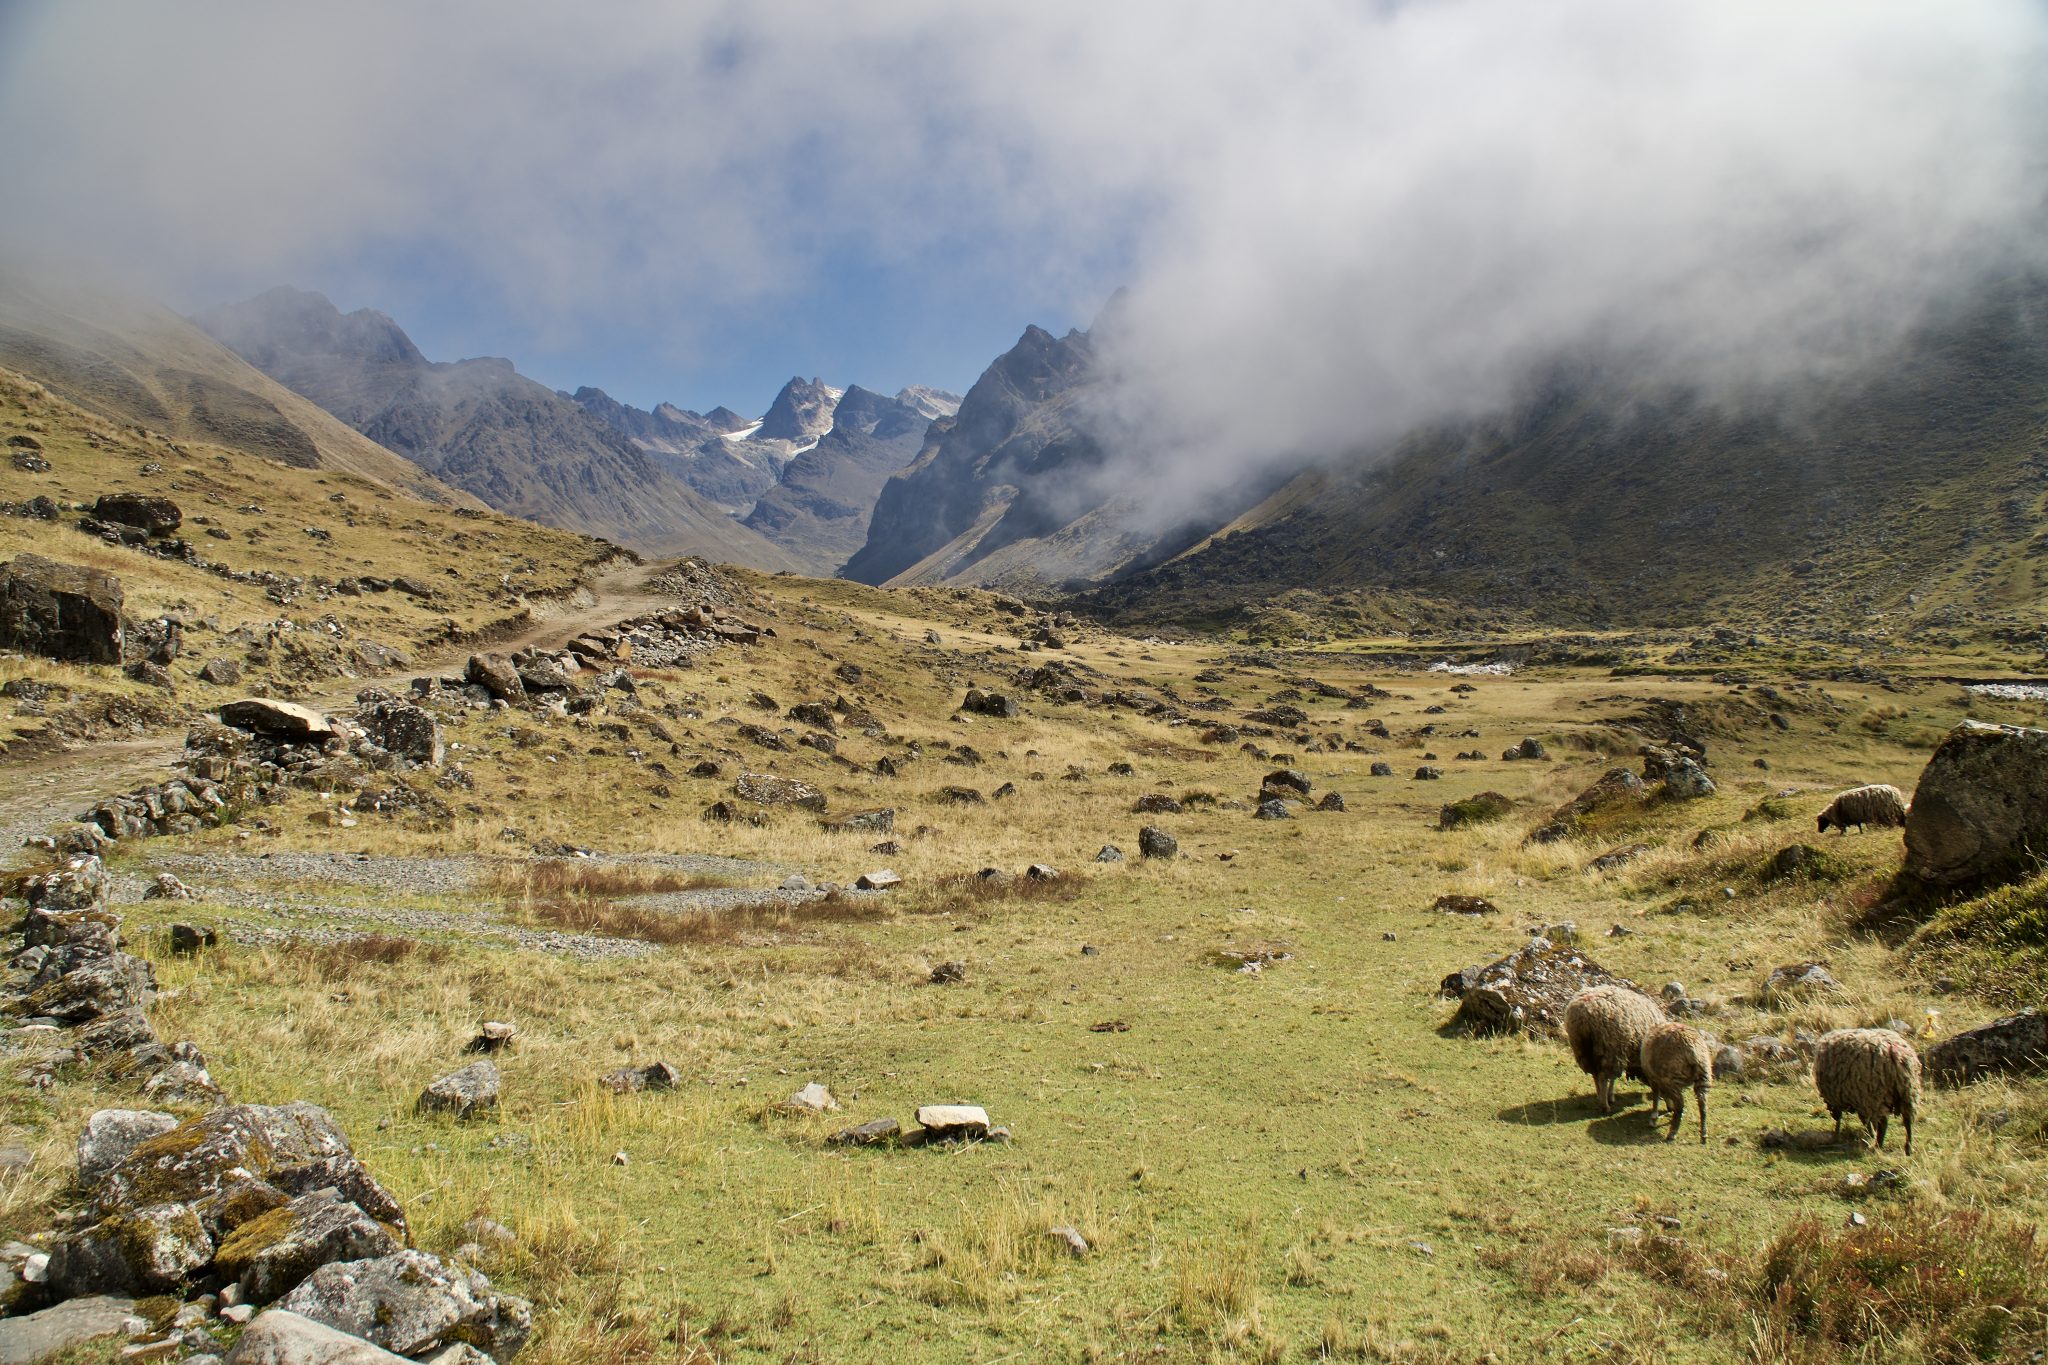
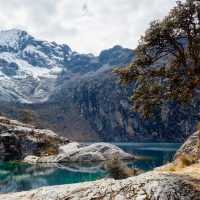
Struggling to get enough oxygen into our lungs, we found ourselves walking super slow, and having to take regular breaks when we forgot about the altitude, walked a little too quickly, and ended up out of breath again. We did glimpse a nice view of a carpet of clouds in the valley behind us, the clouds way below out level, which gave us a good perspective of just how high up we were.
Seeing a taxi zoom up the road with 2 guys in the back (2 Spaniards in their forties who impressively zoomed through the whole trail quicker than anybody else), Joey and I agreed that neither of us had too much pride to hitch a ride the rest of the way up if the opportunity arose. It did, minutes later, and after a quick 3 minute (and 10bs) ride up the steepest 500m of the walk, we were at the top. There we met the zoomy Spaniards, admired the view, and started the descent.

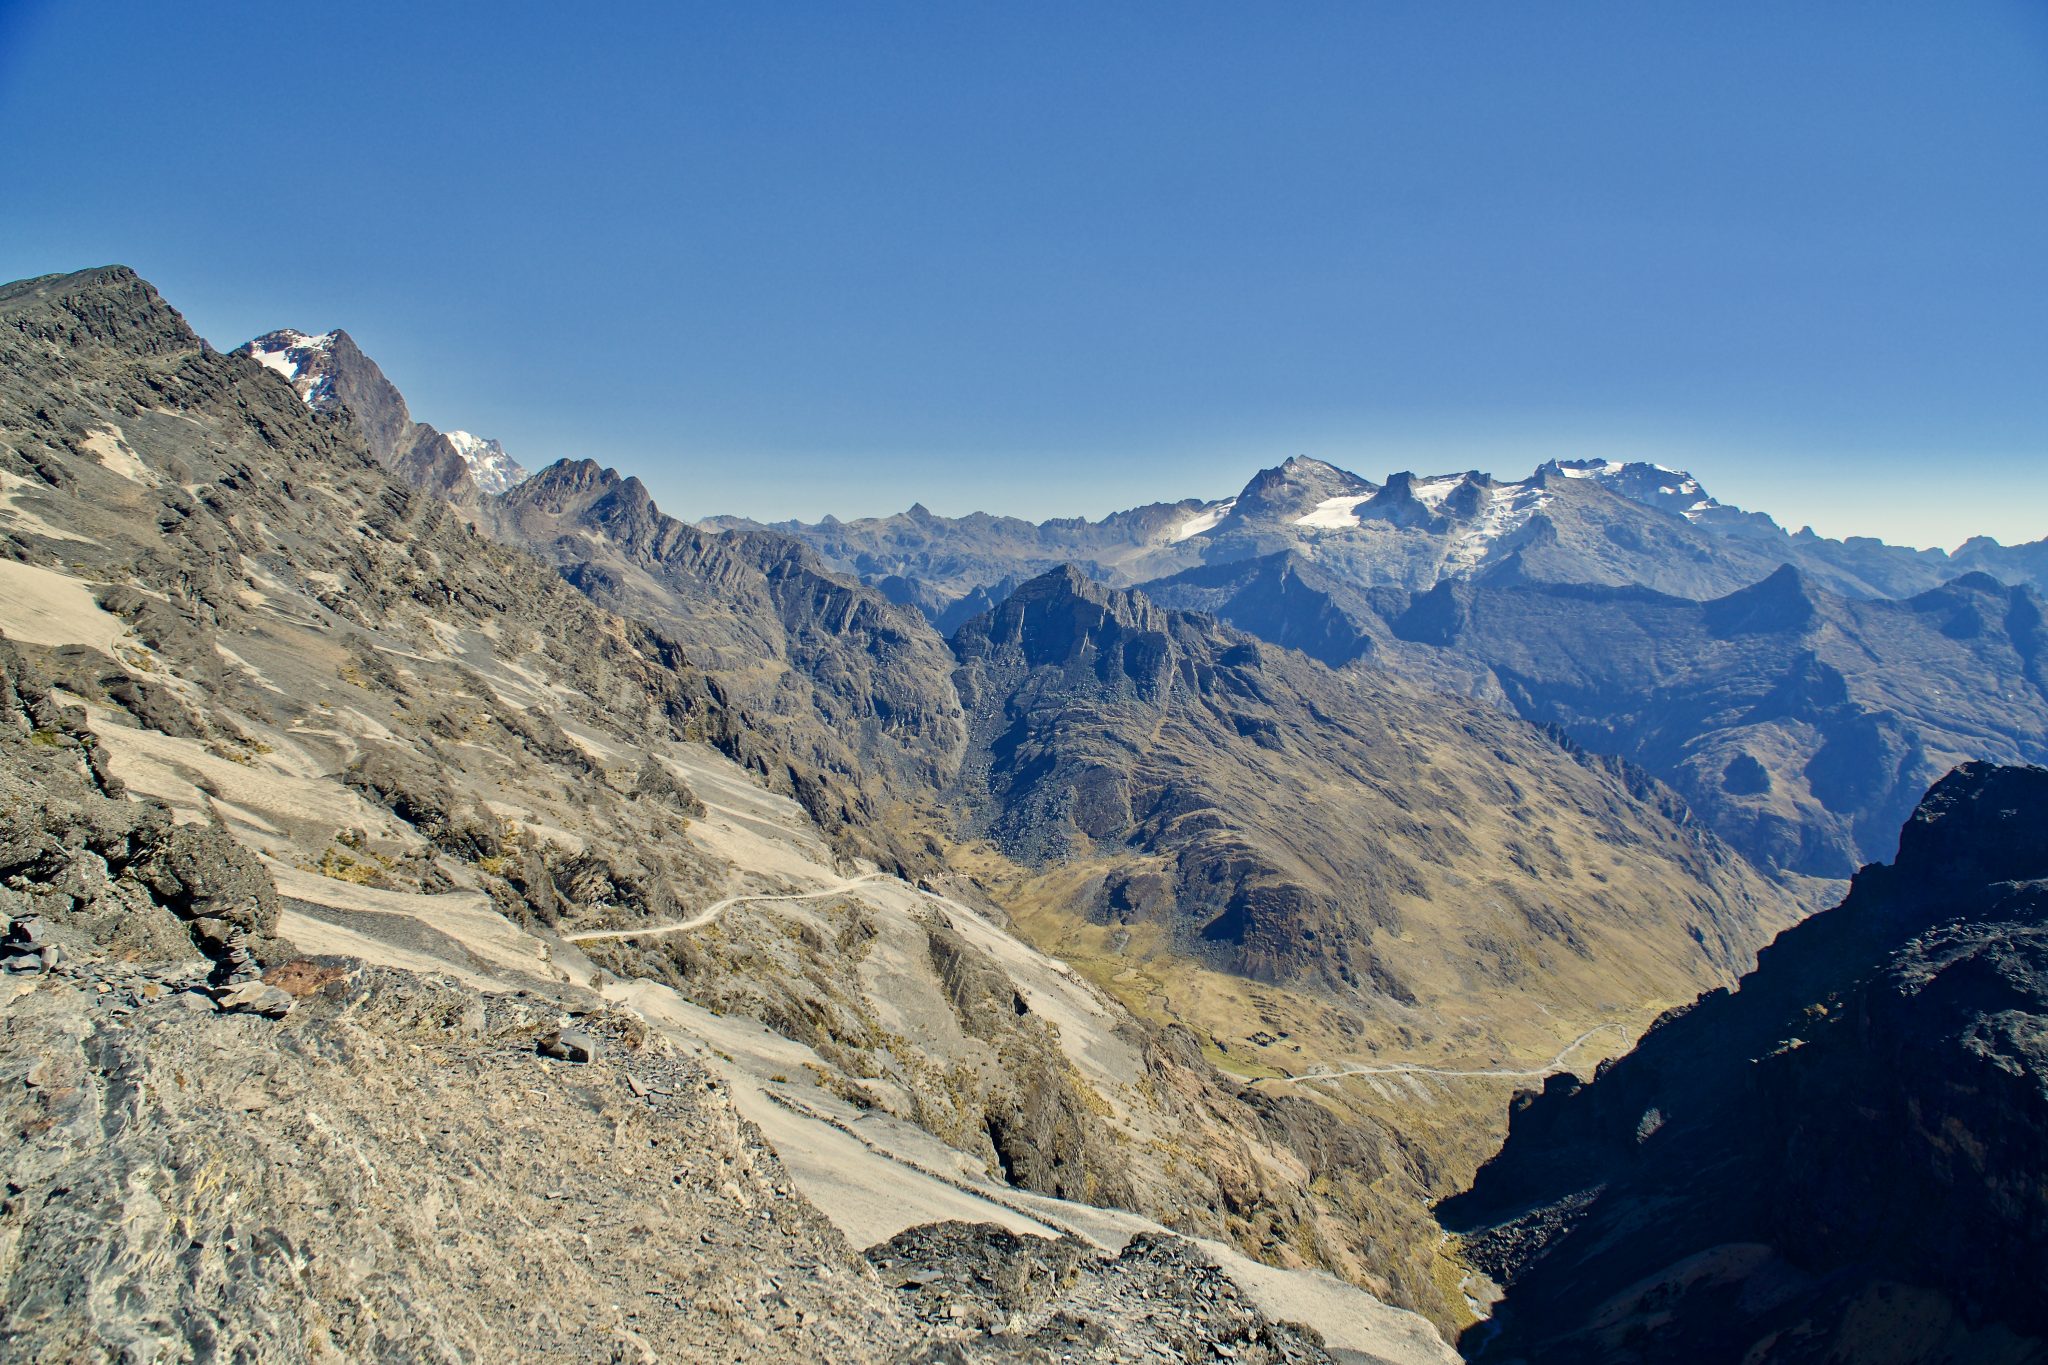


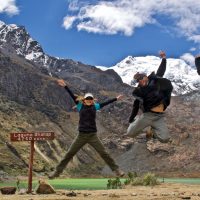
Photos from the Summit
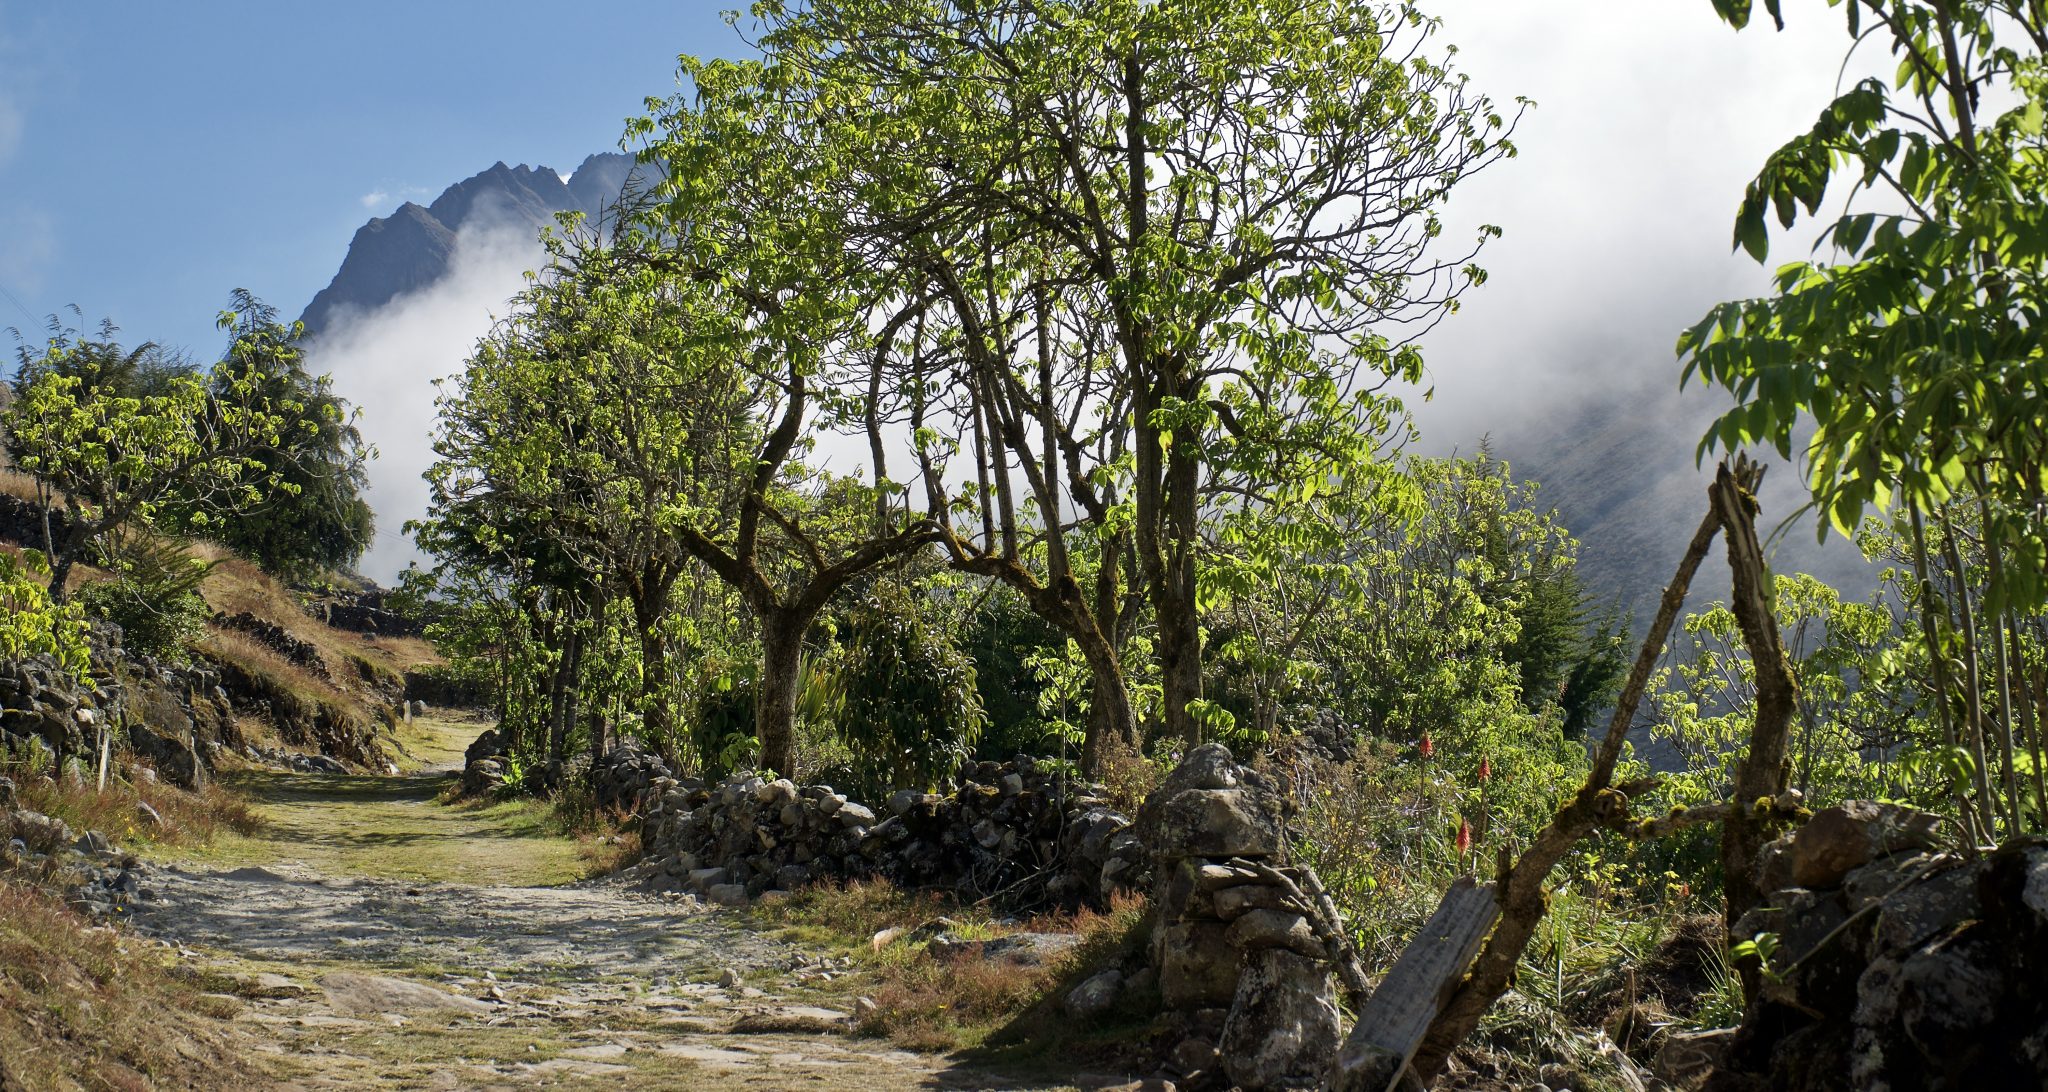
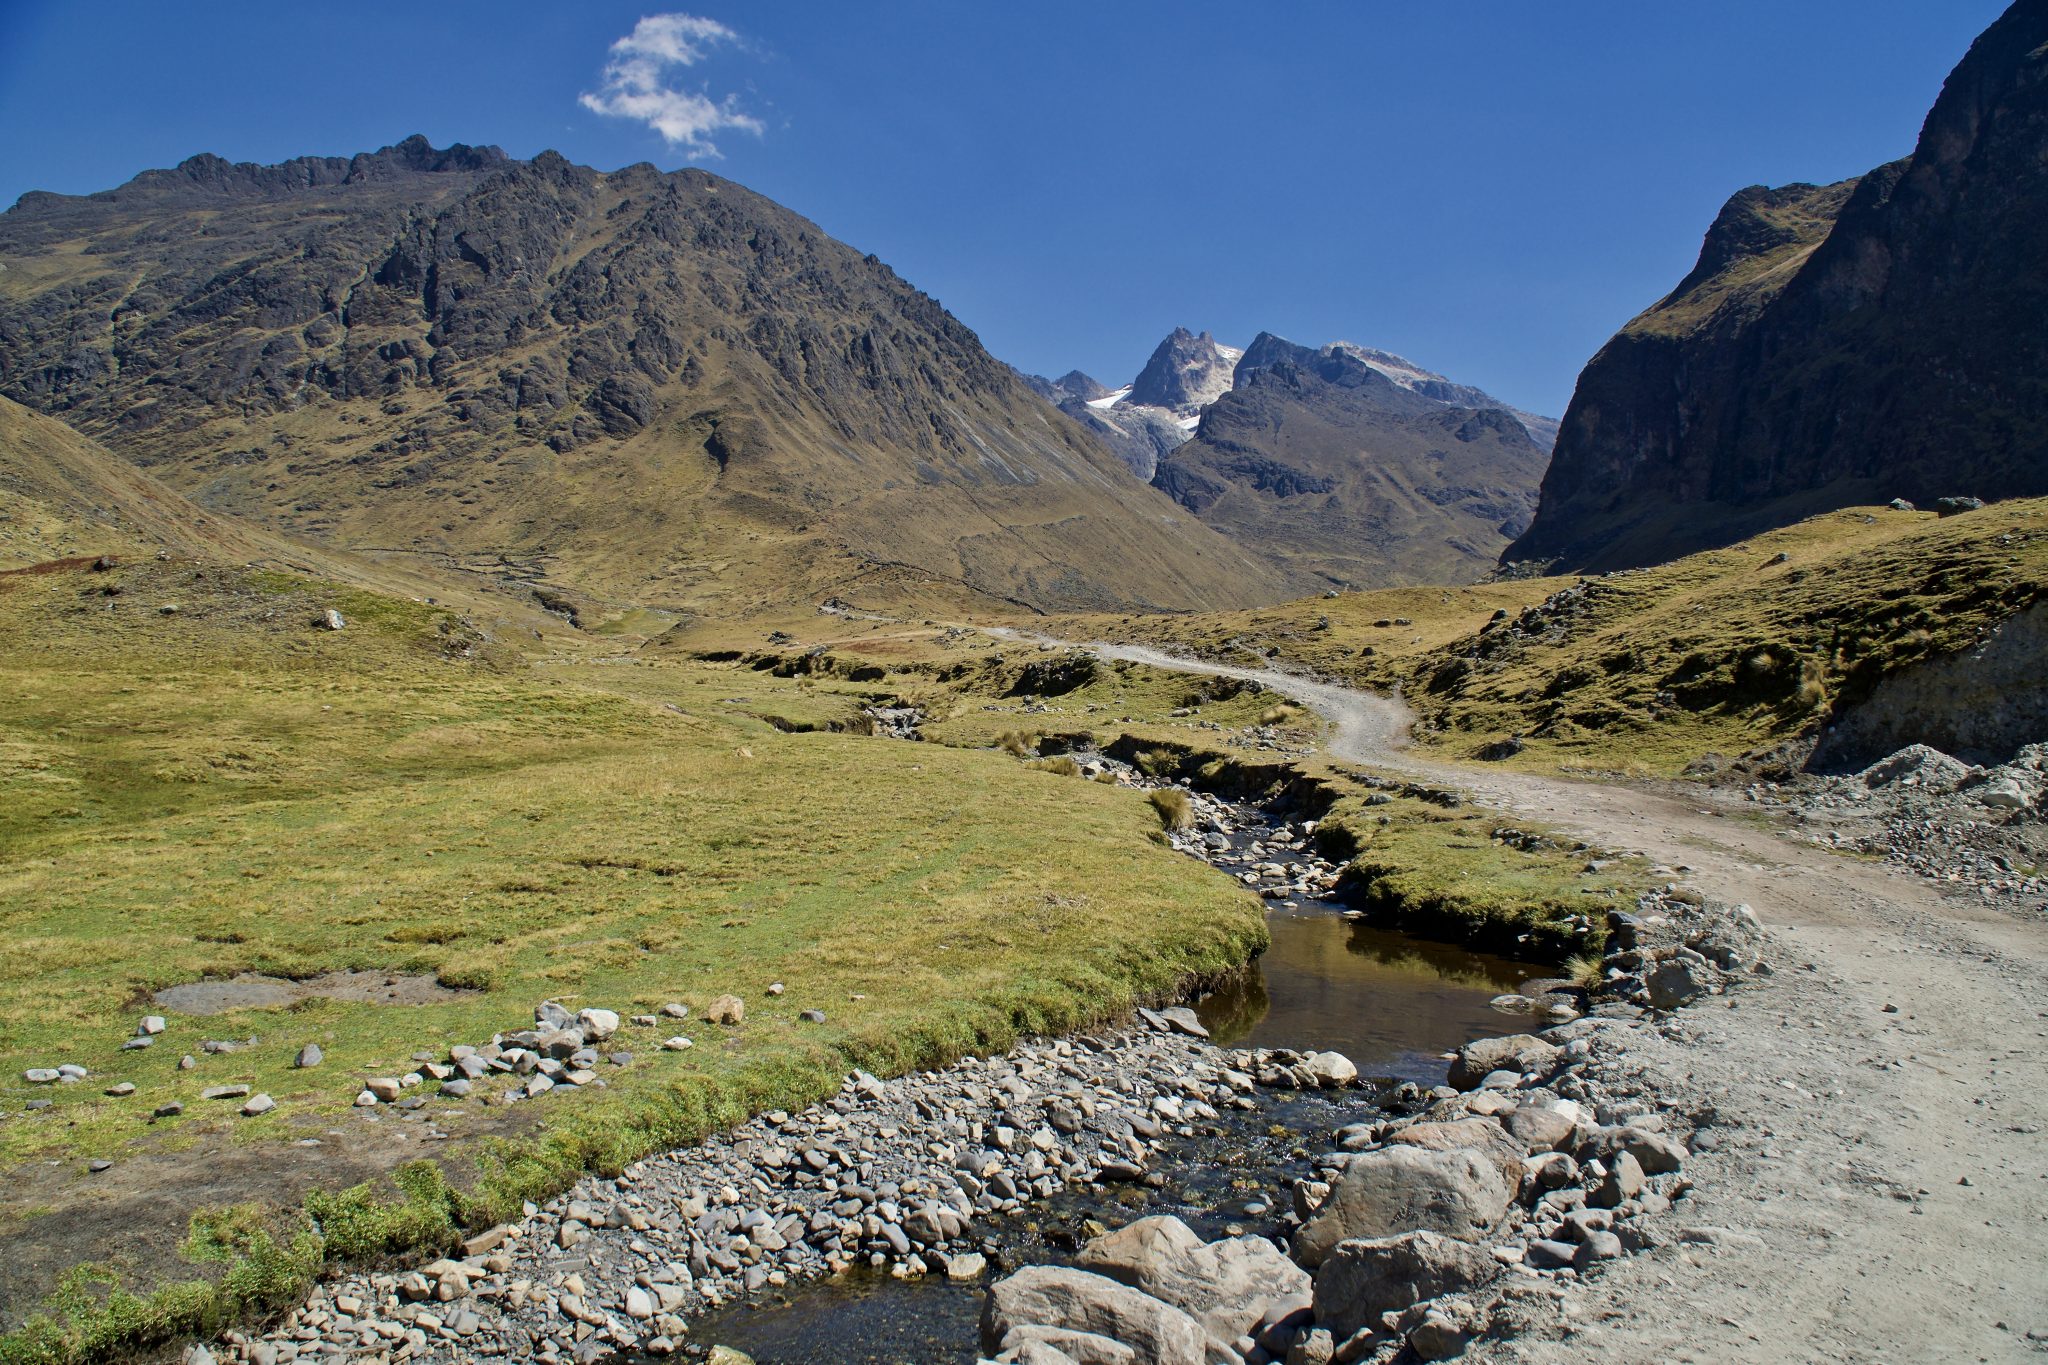
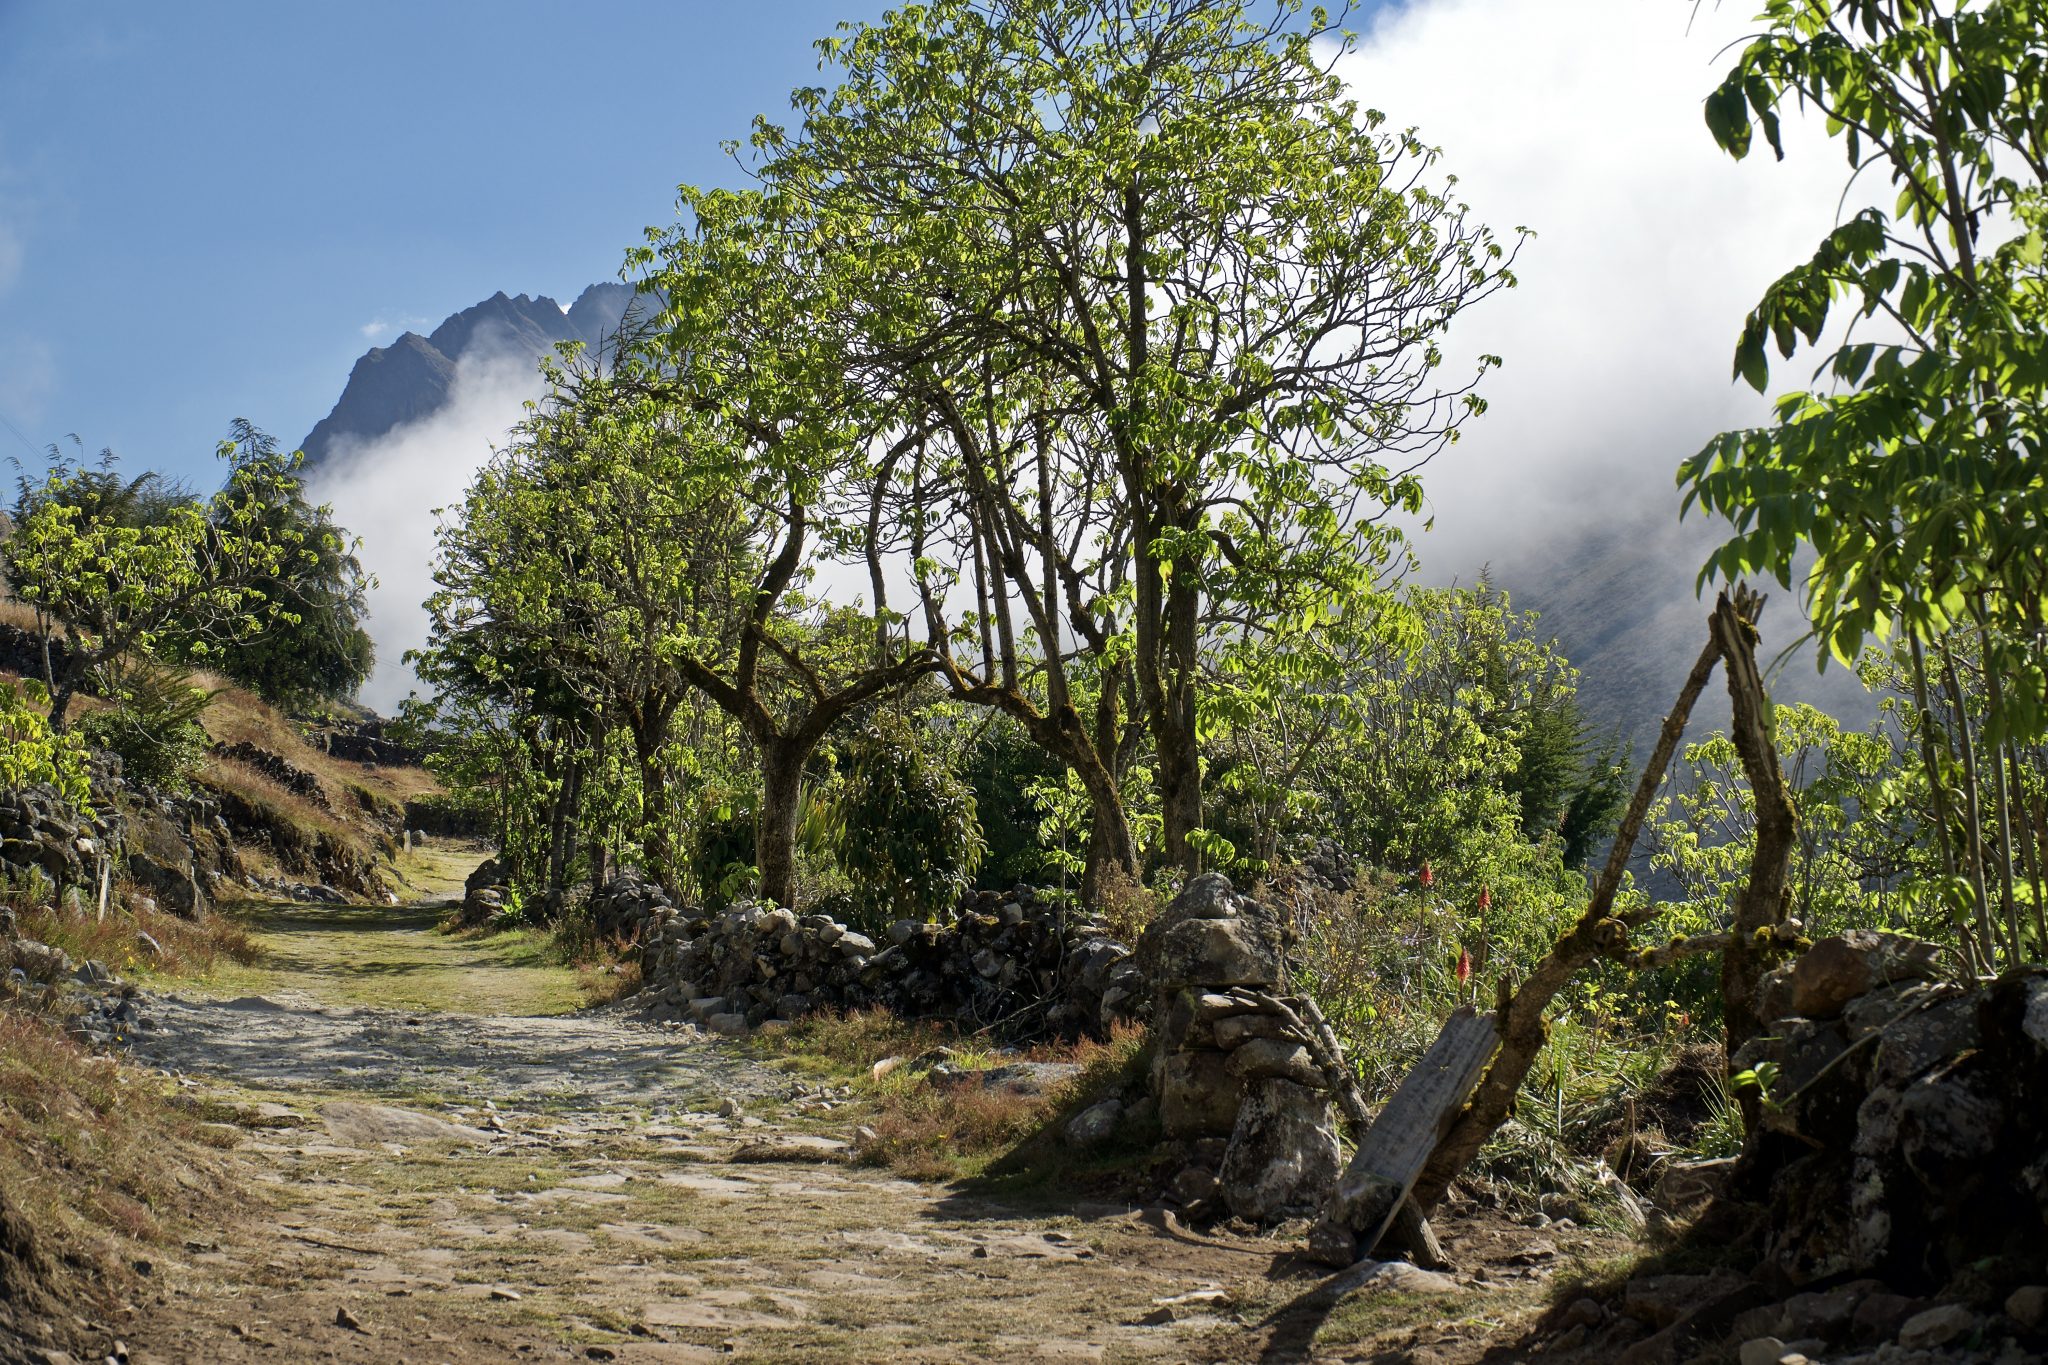
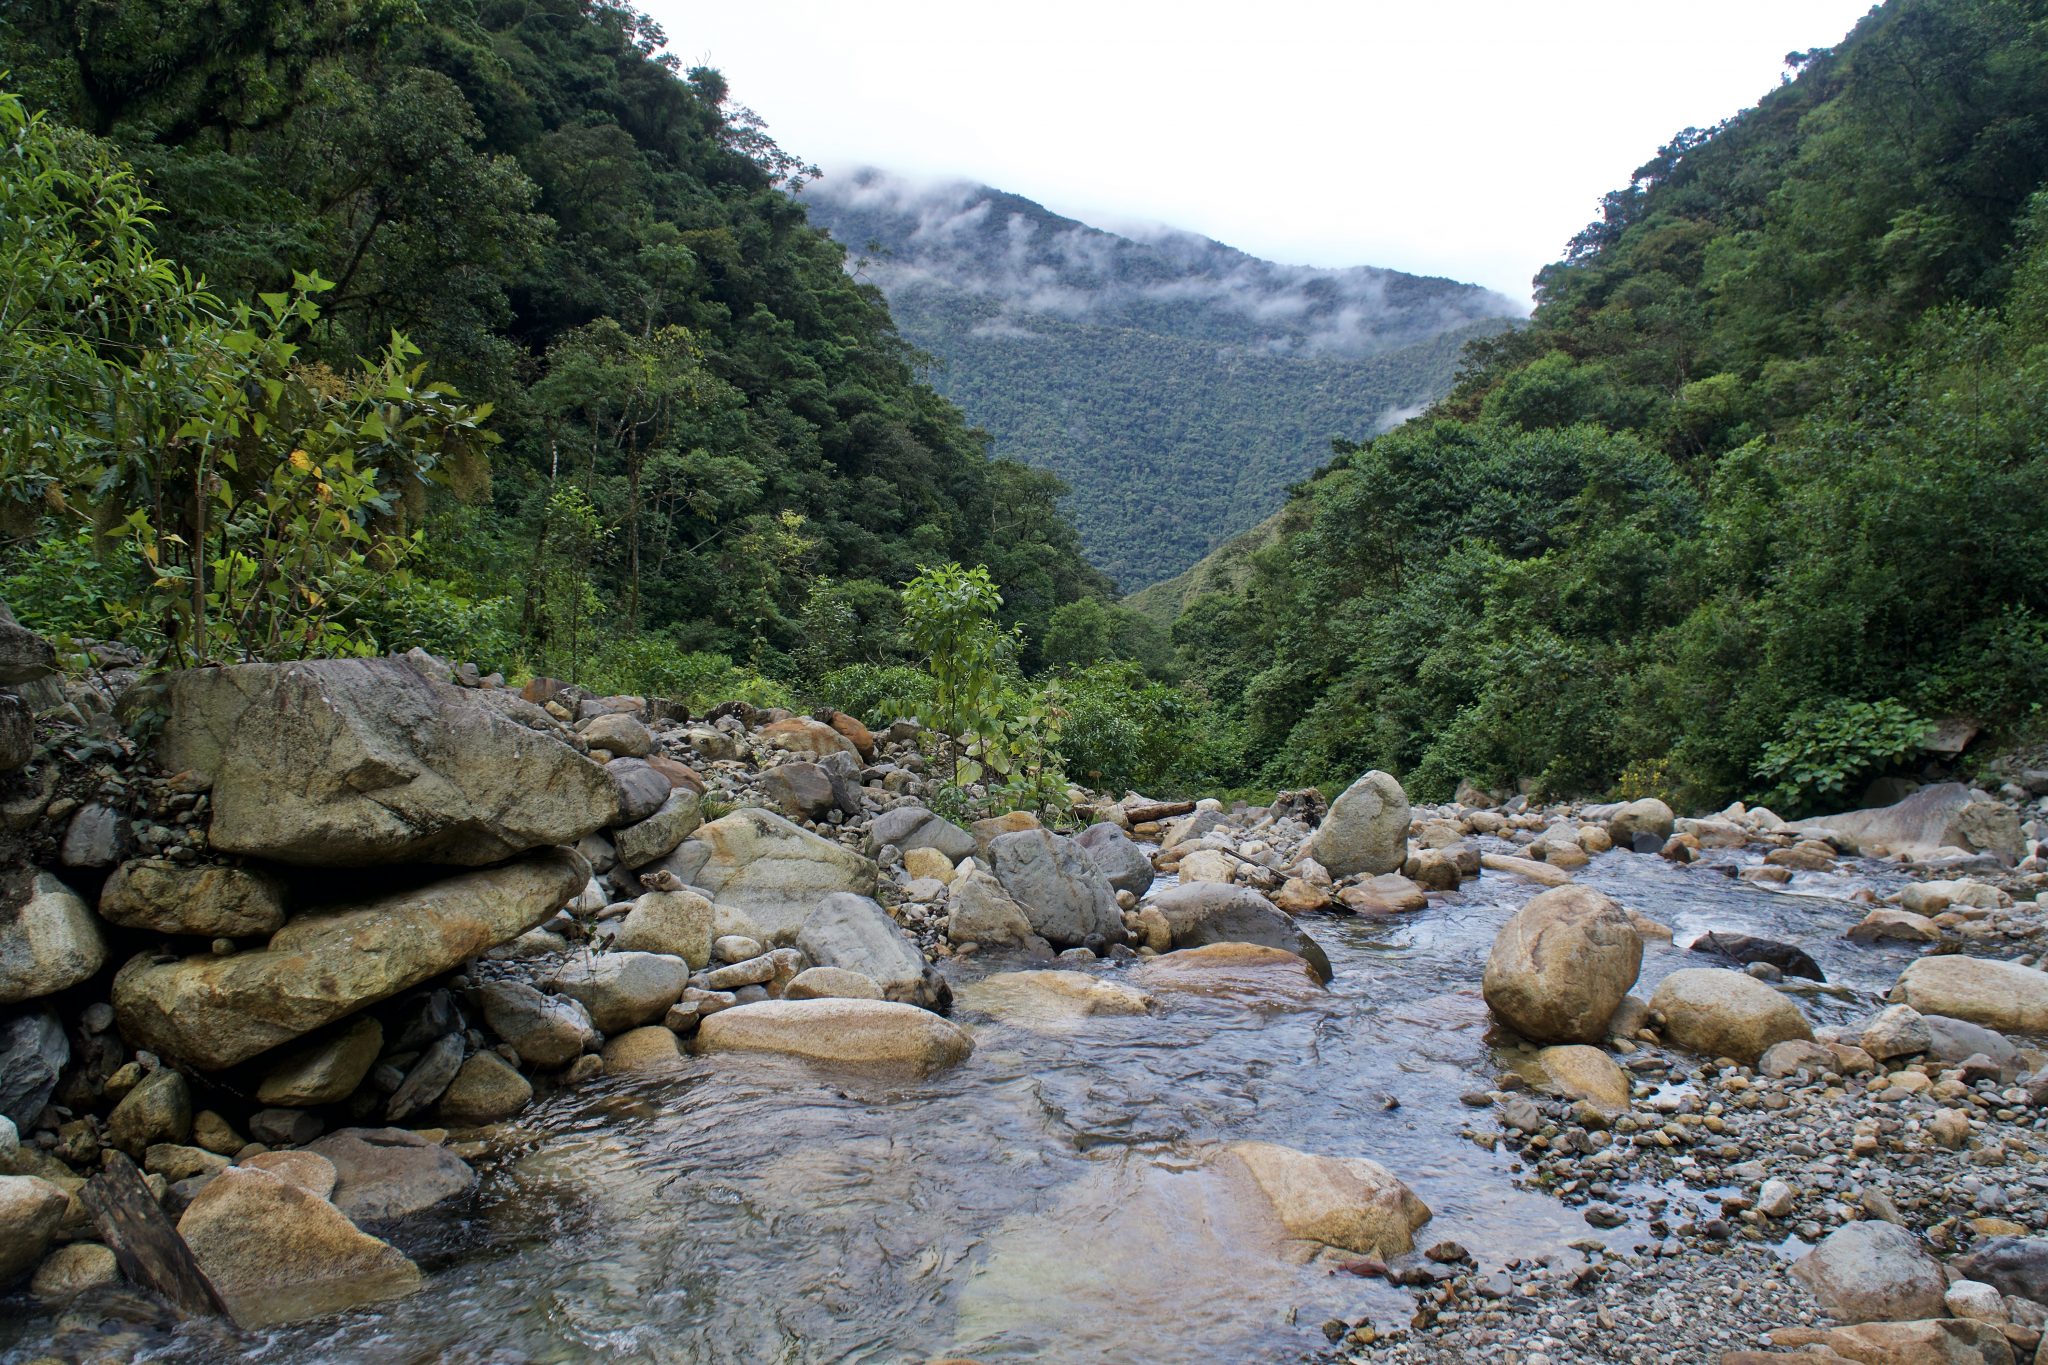
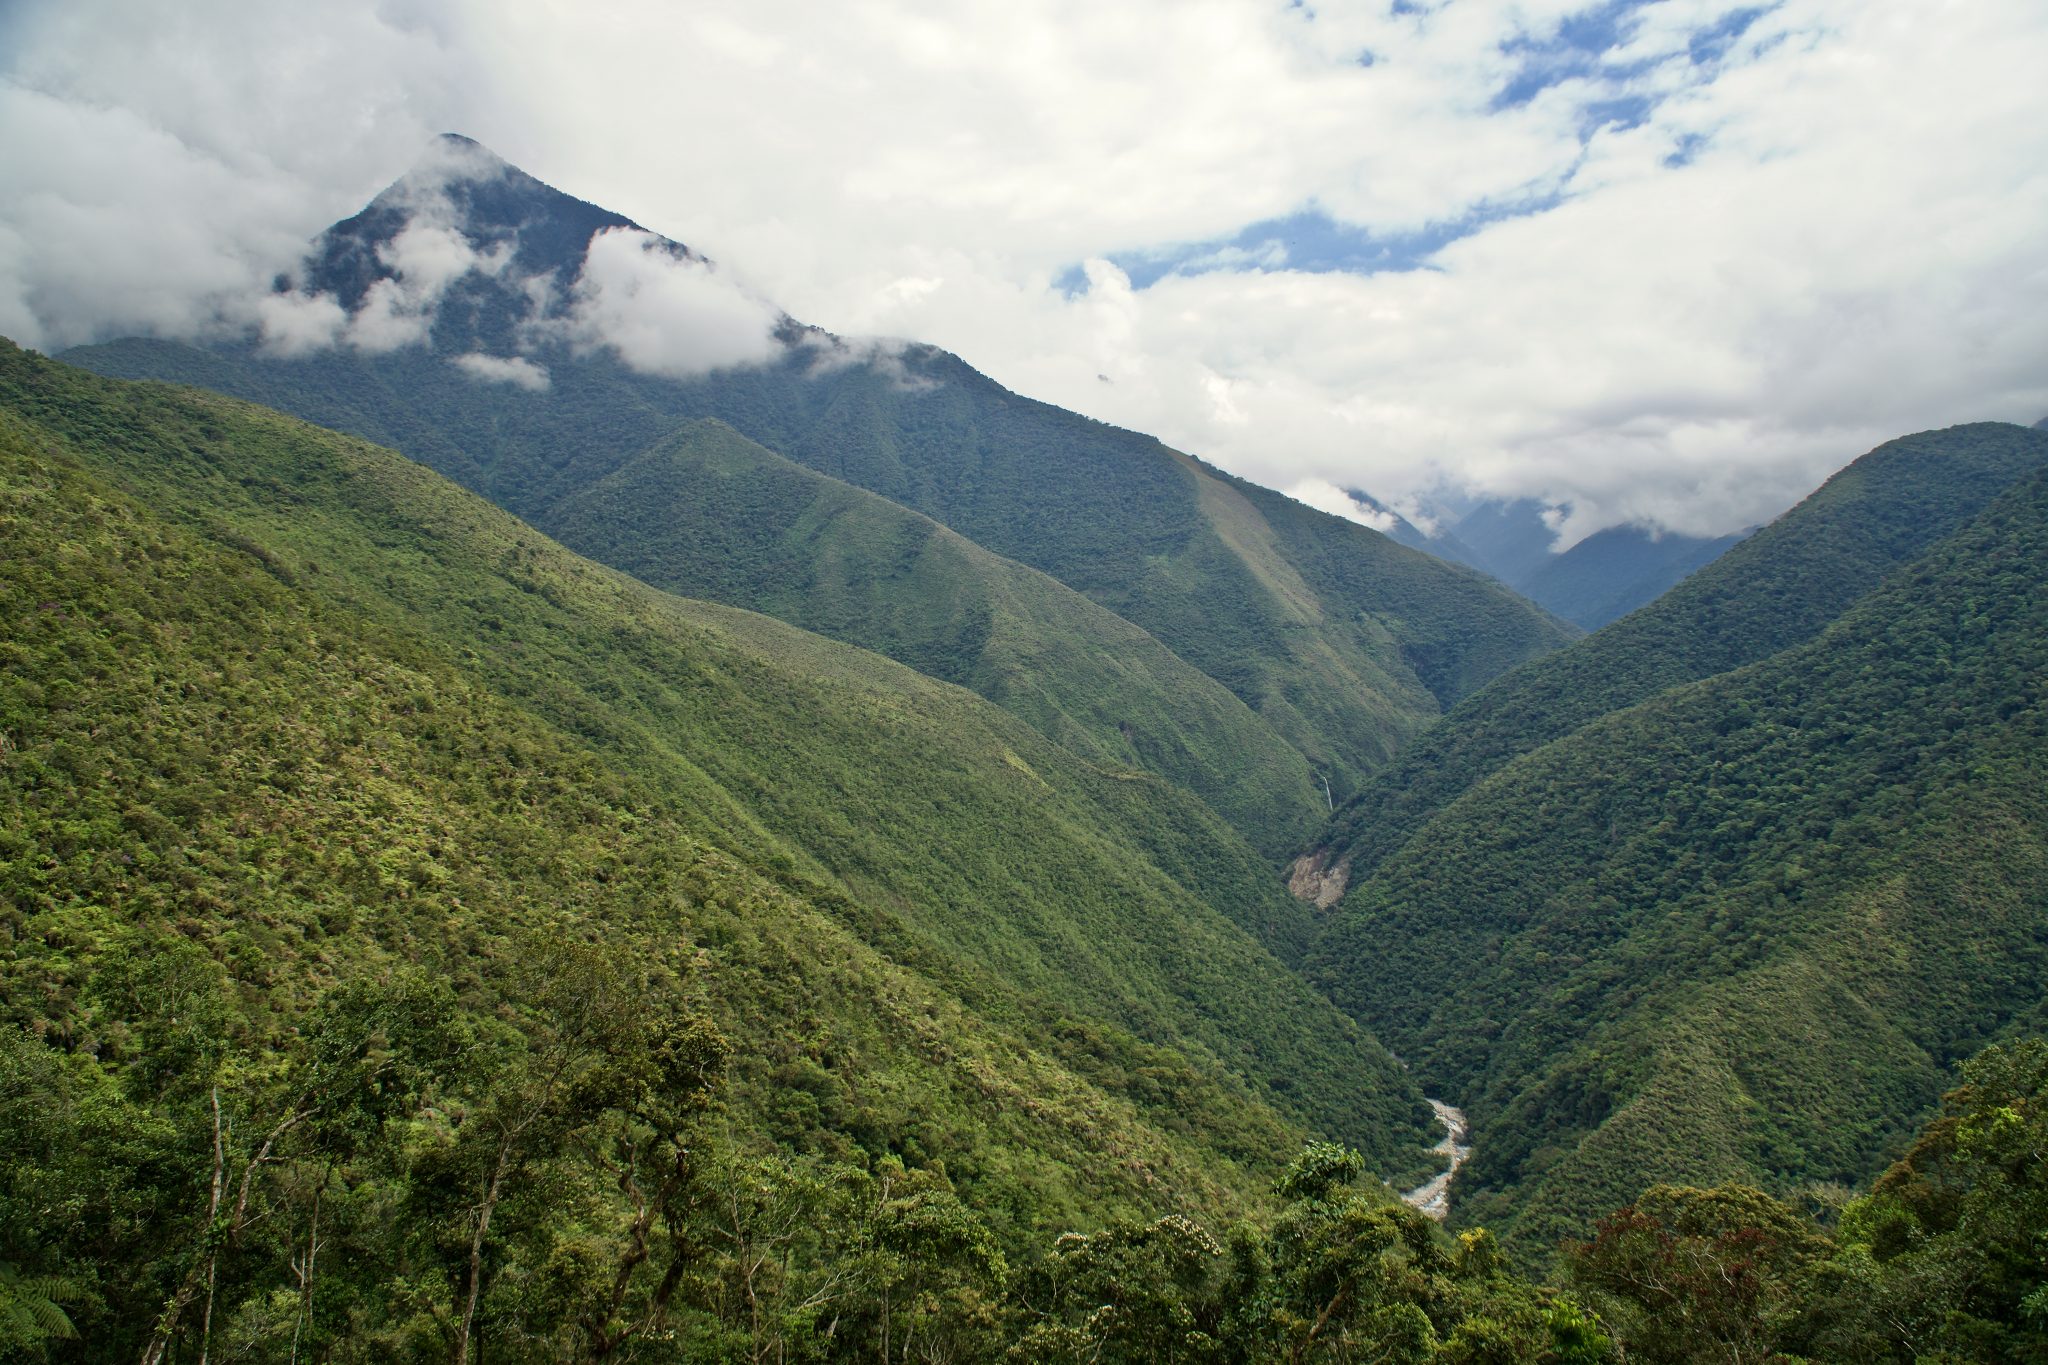
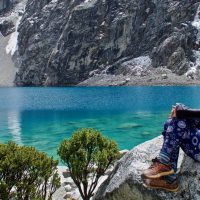
The next few hours were probably my favourite of the whole hike. We descended quickly down a series of rocky switchbacks, a total of about 800 metres elevation drop over about 6km. There, we found a nice grassy patch to have lunch and admire the view of the valley around us. It was magnificent – huge mountains behind us, a little stream snaking its way through the valley, and llamas and sheep dotted around throughout the valley. Up ahead, we could see the clouds rising through the valley – an indication of what was to come ahead for us.
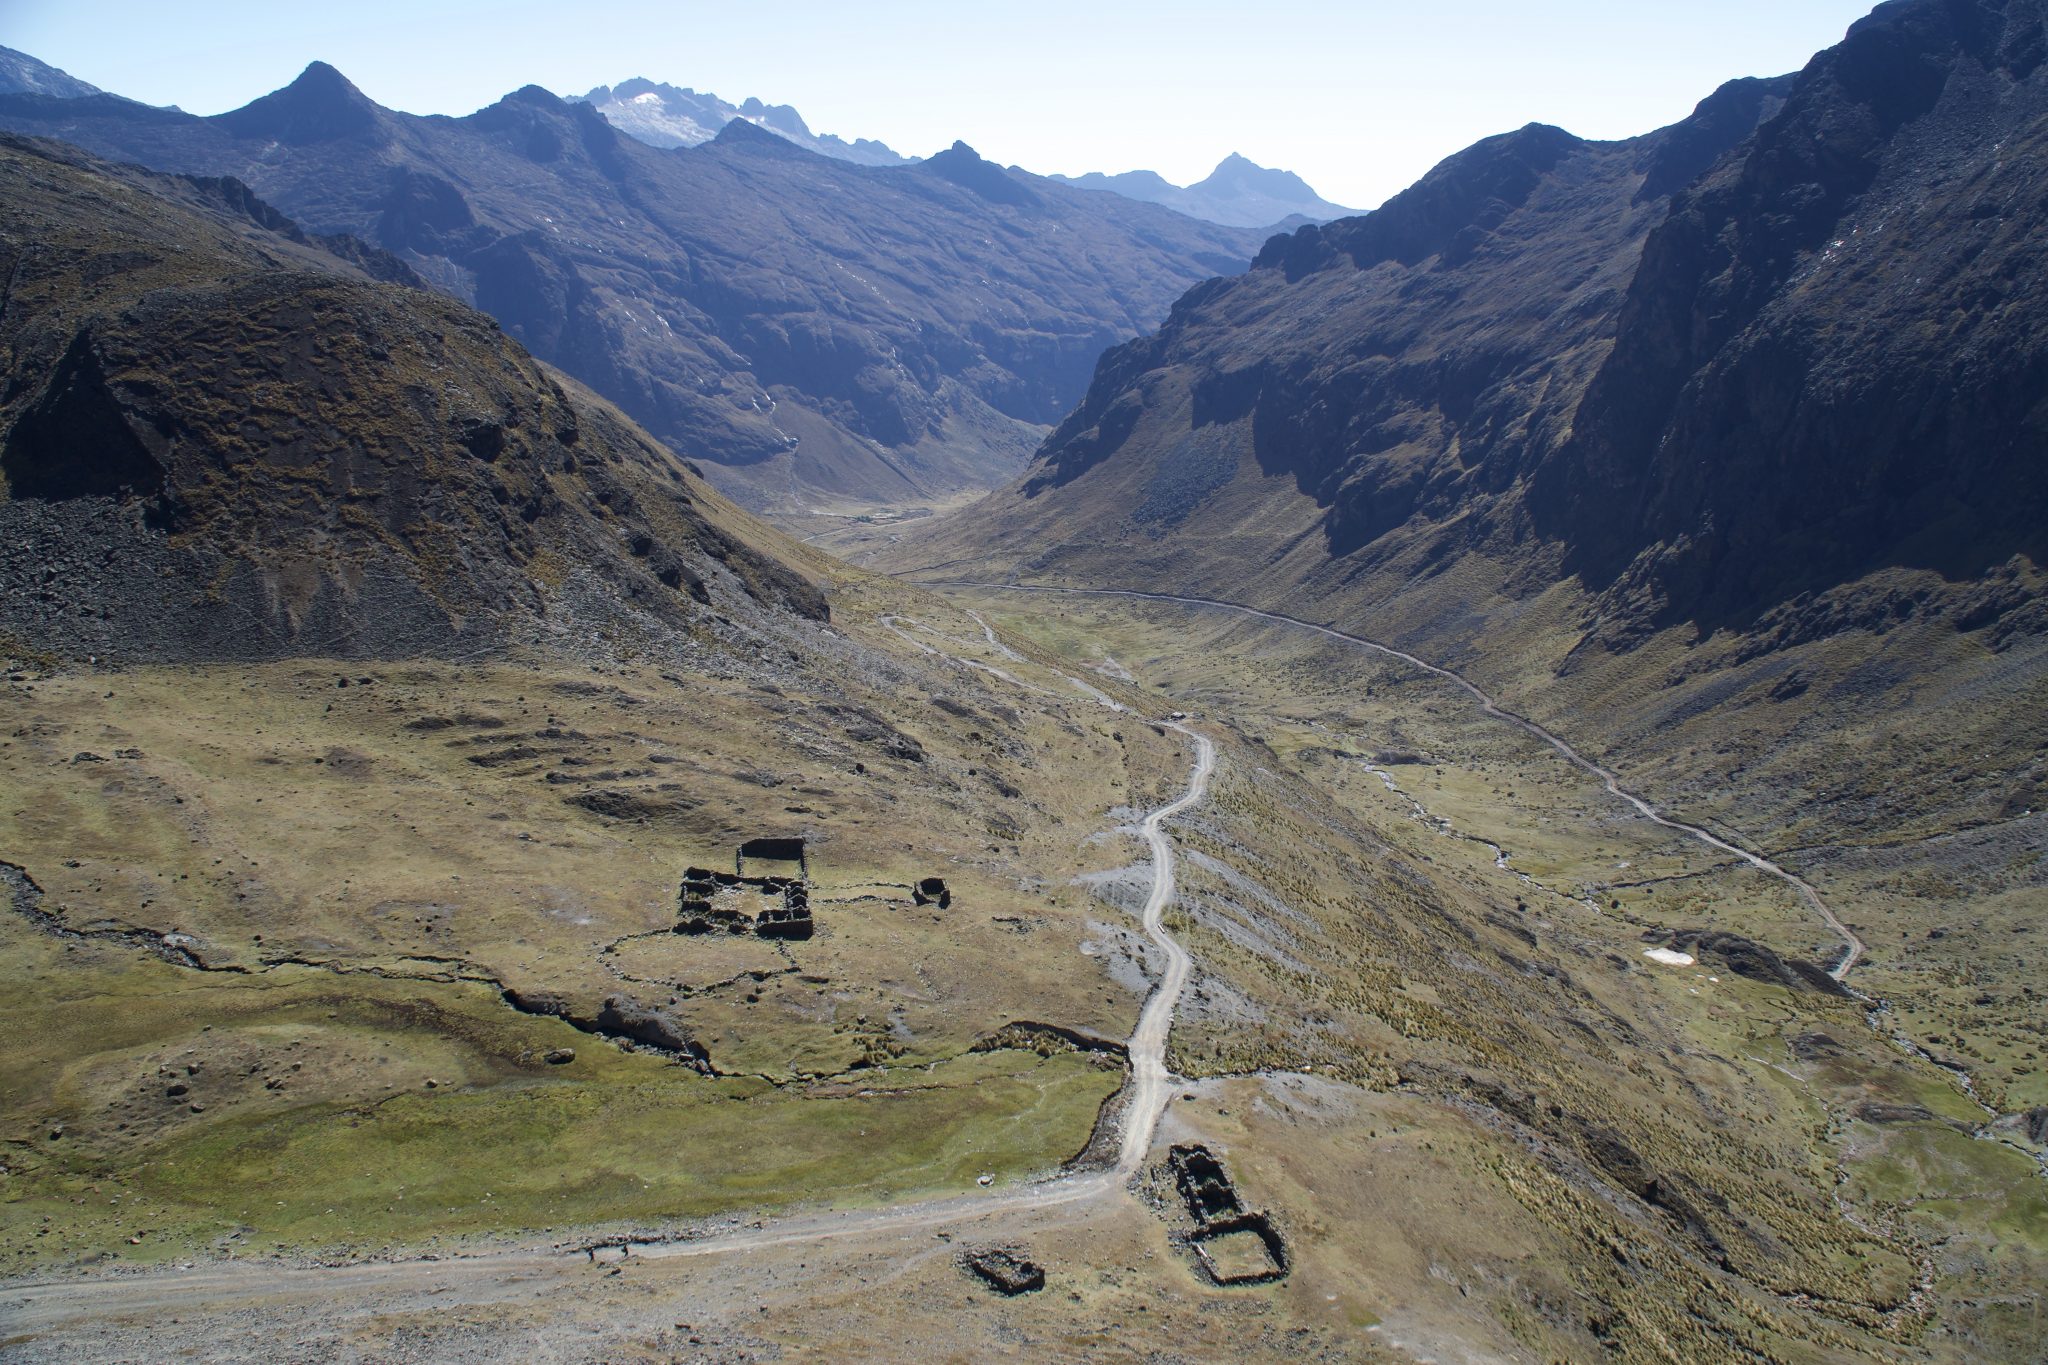


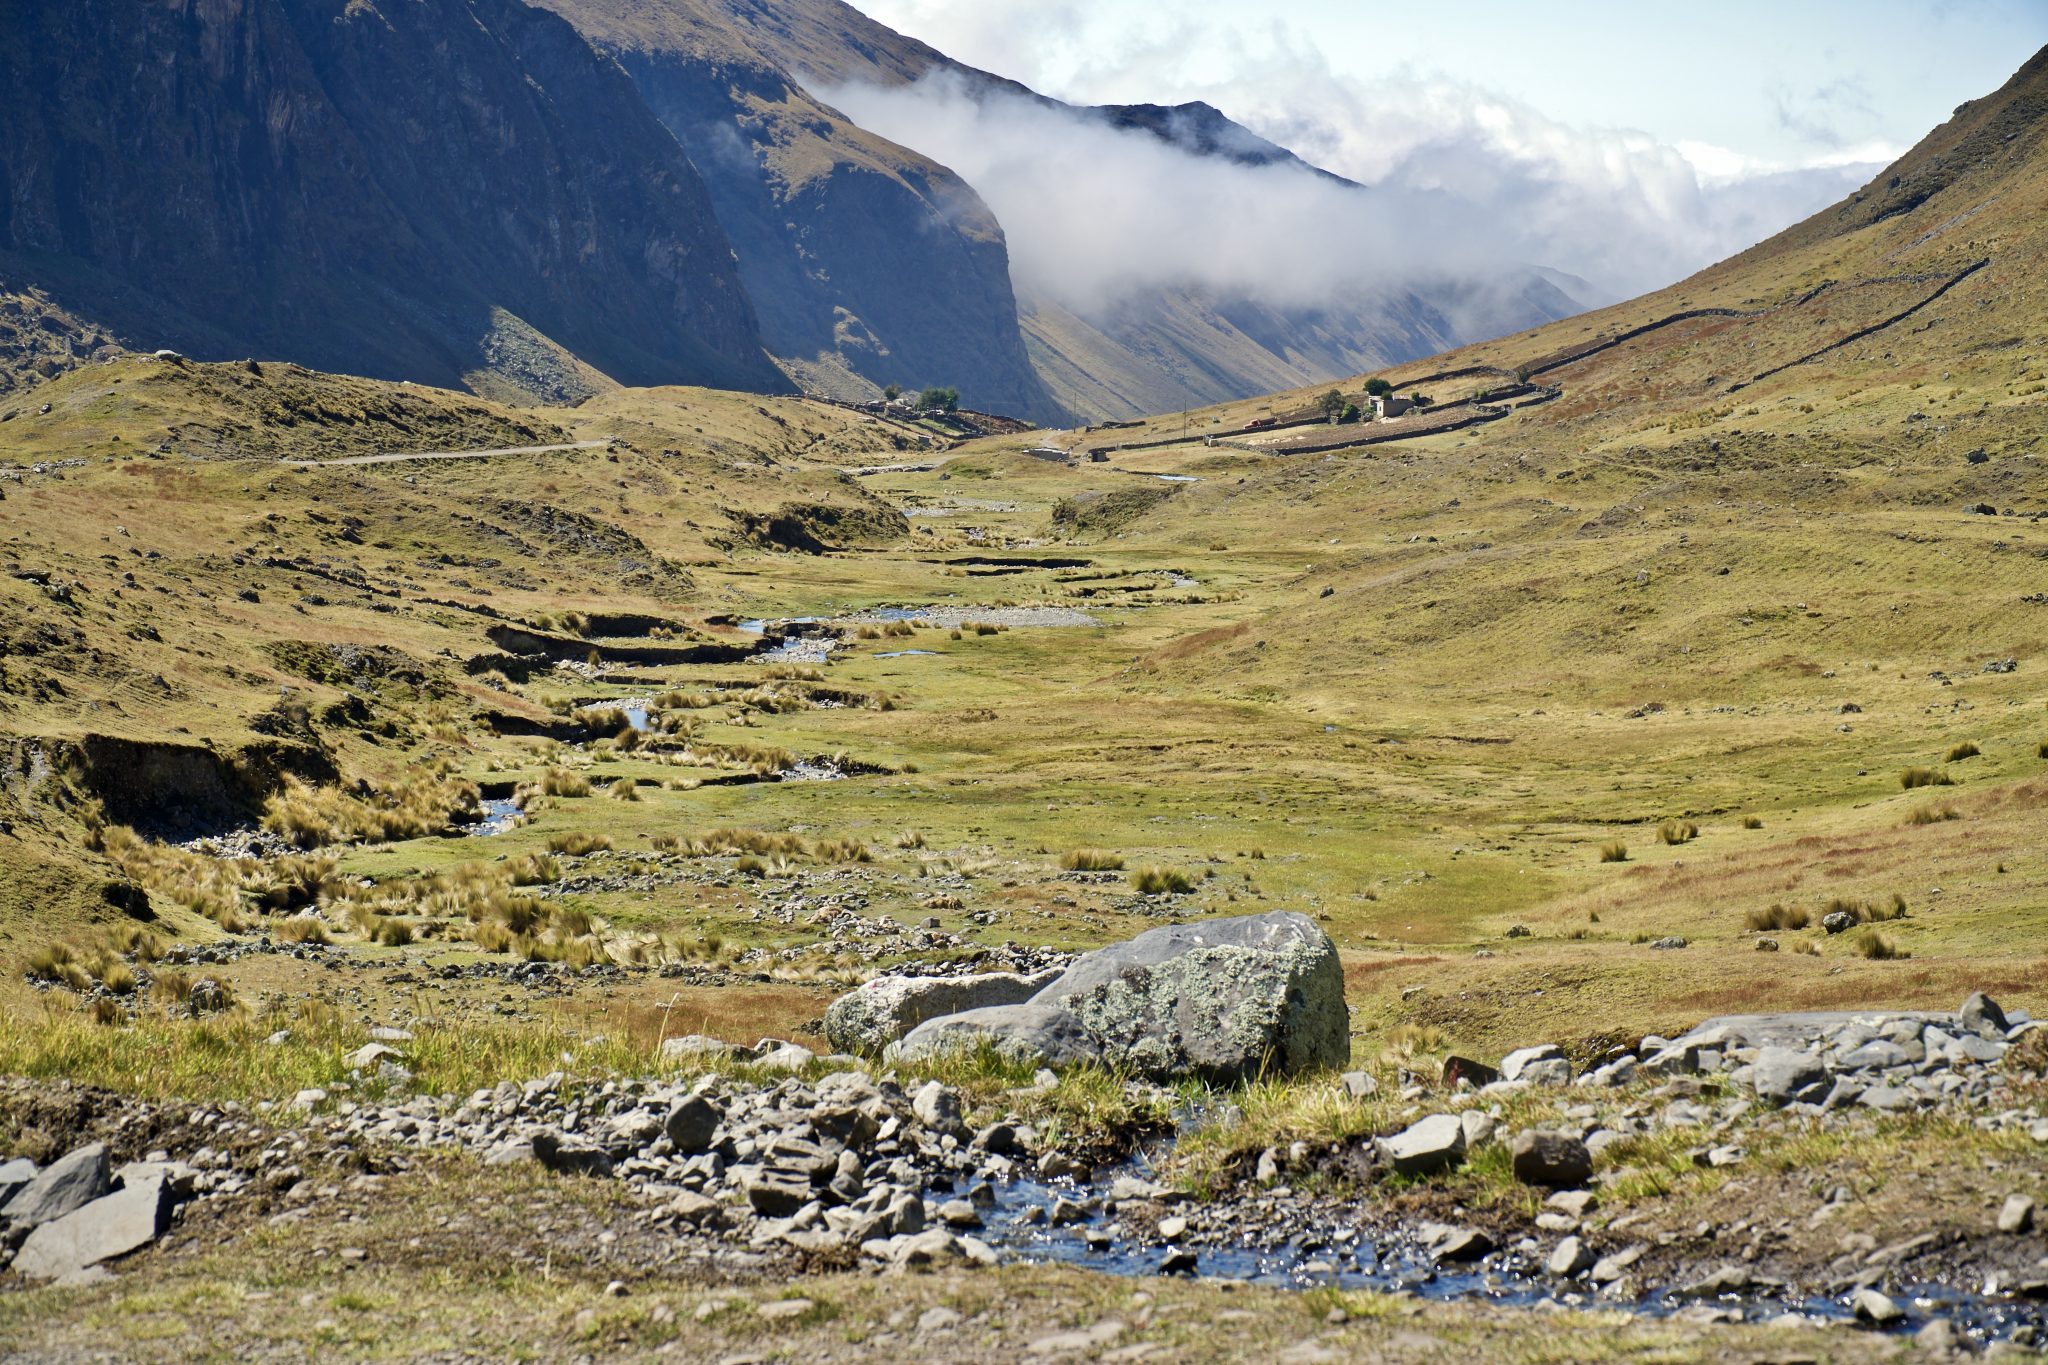

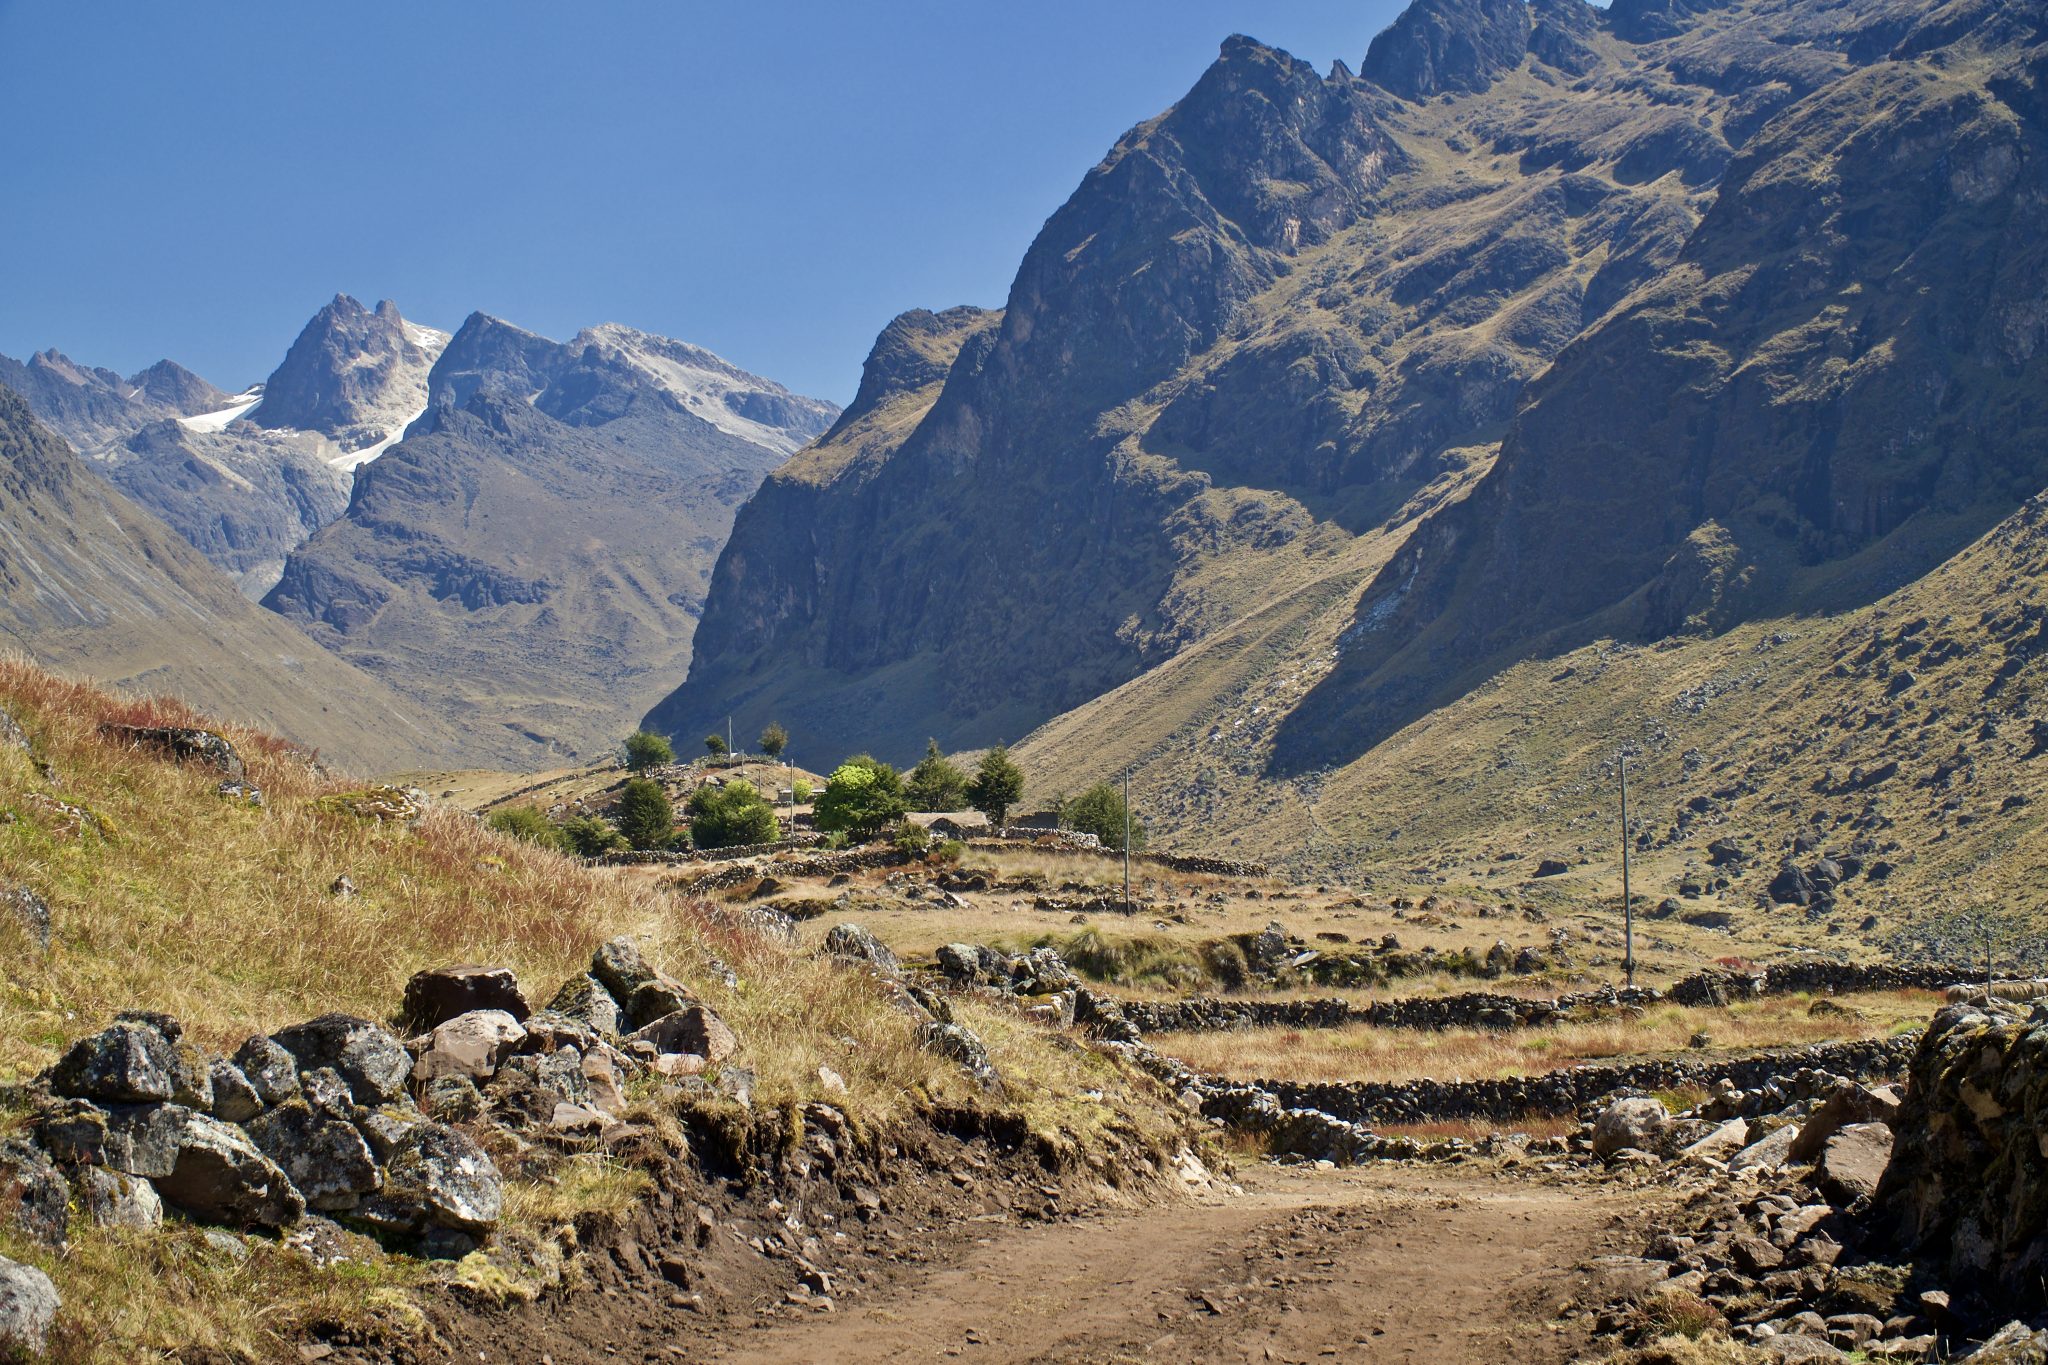
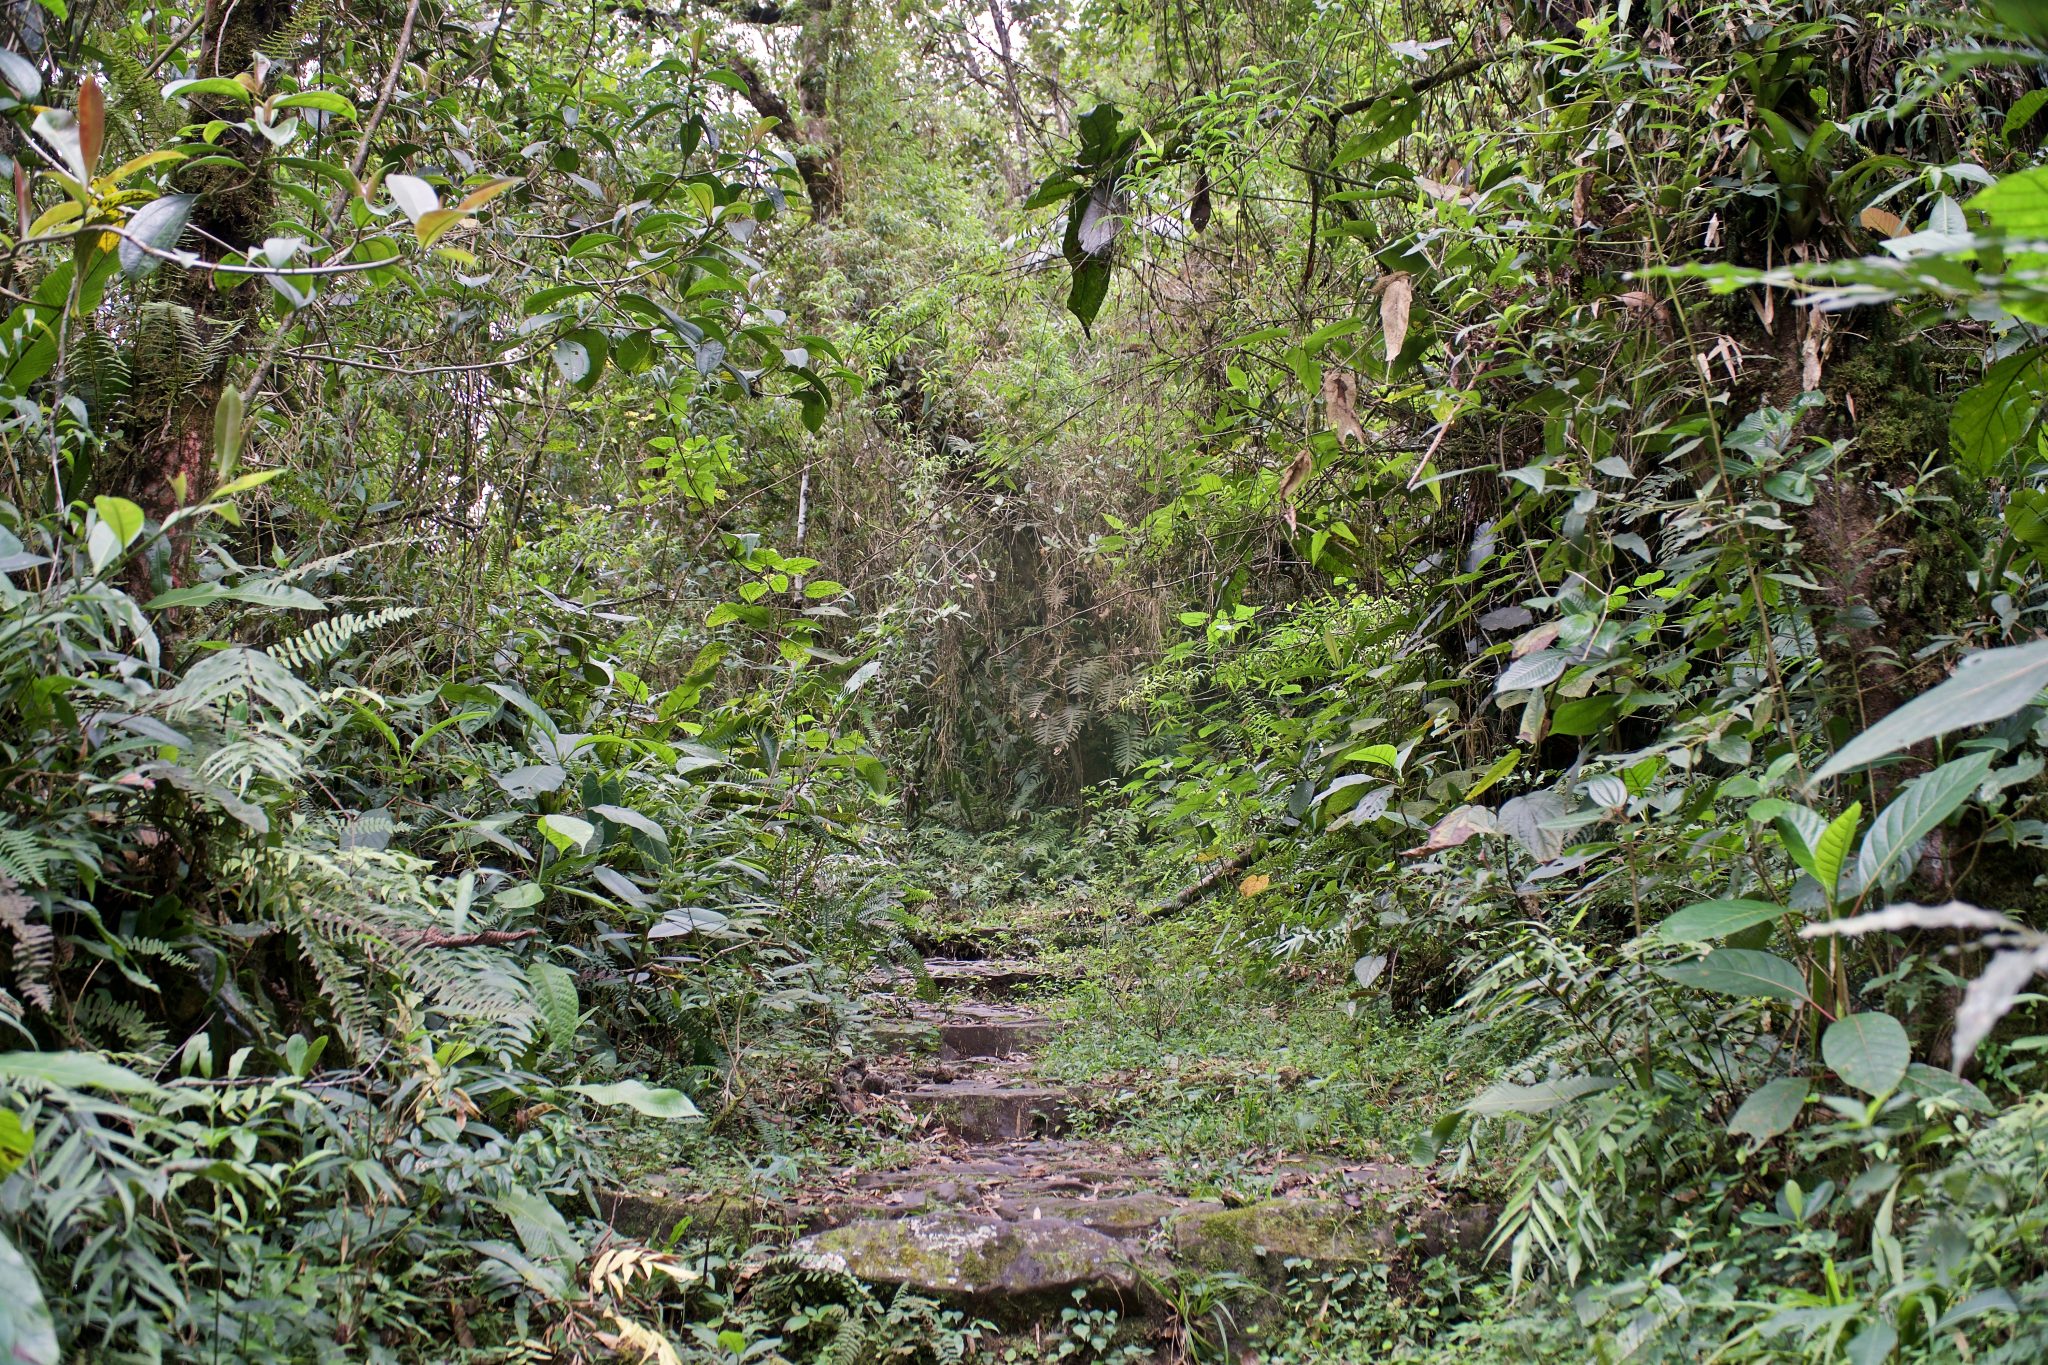
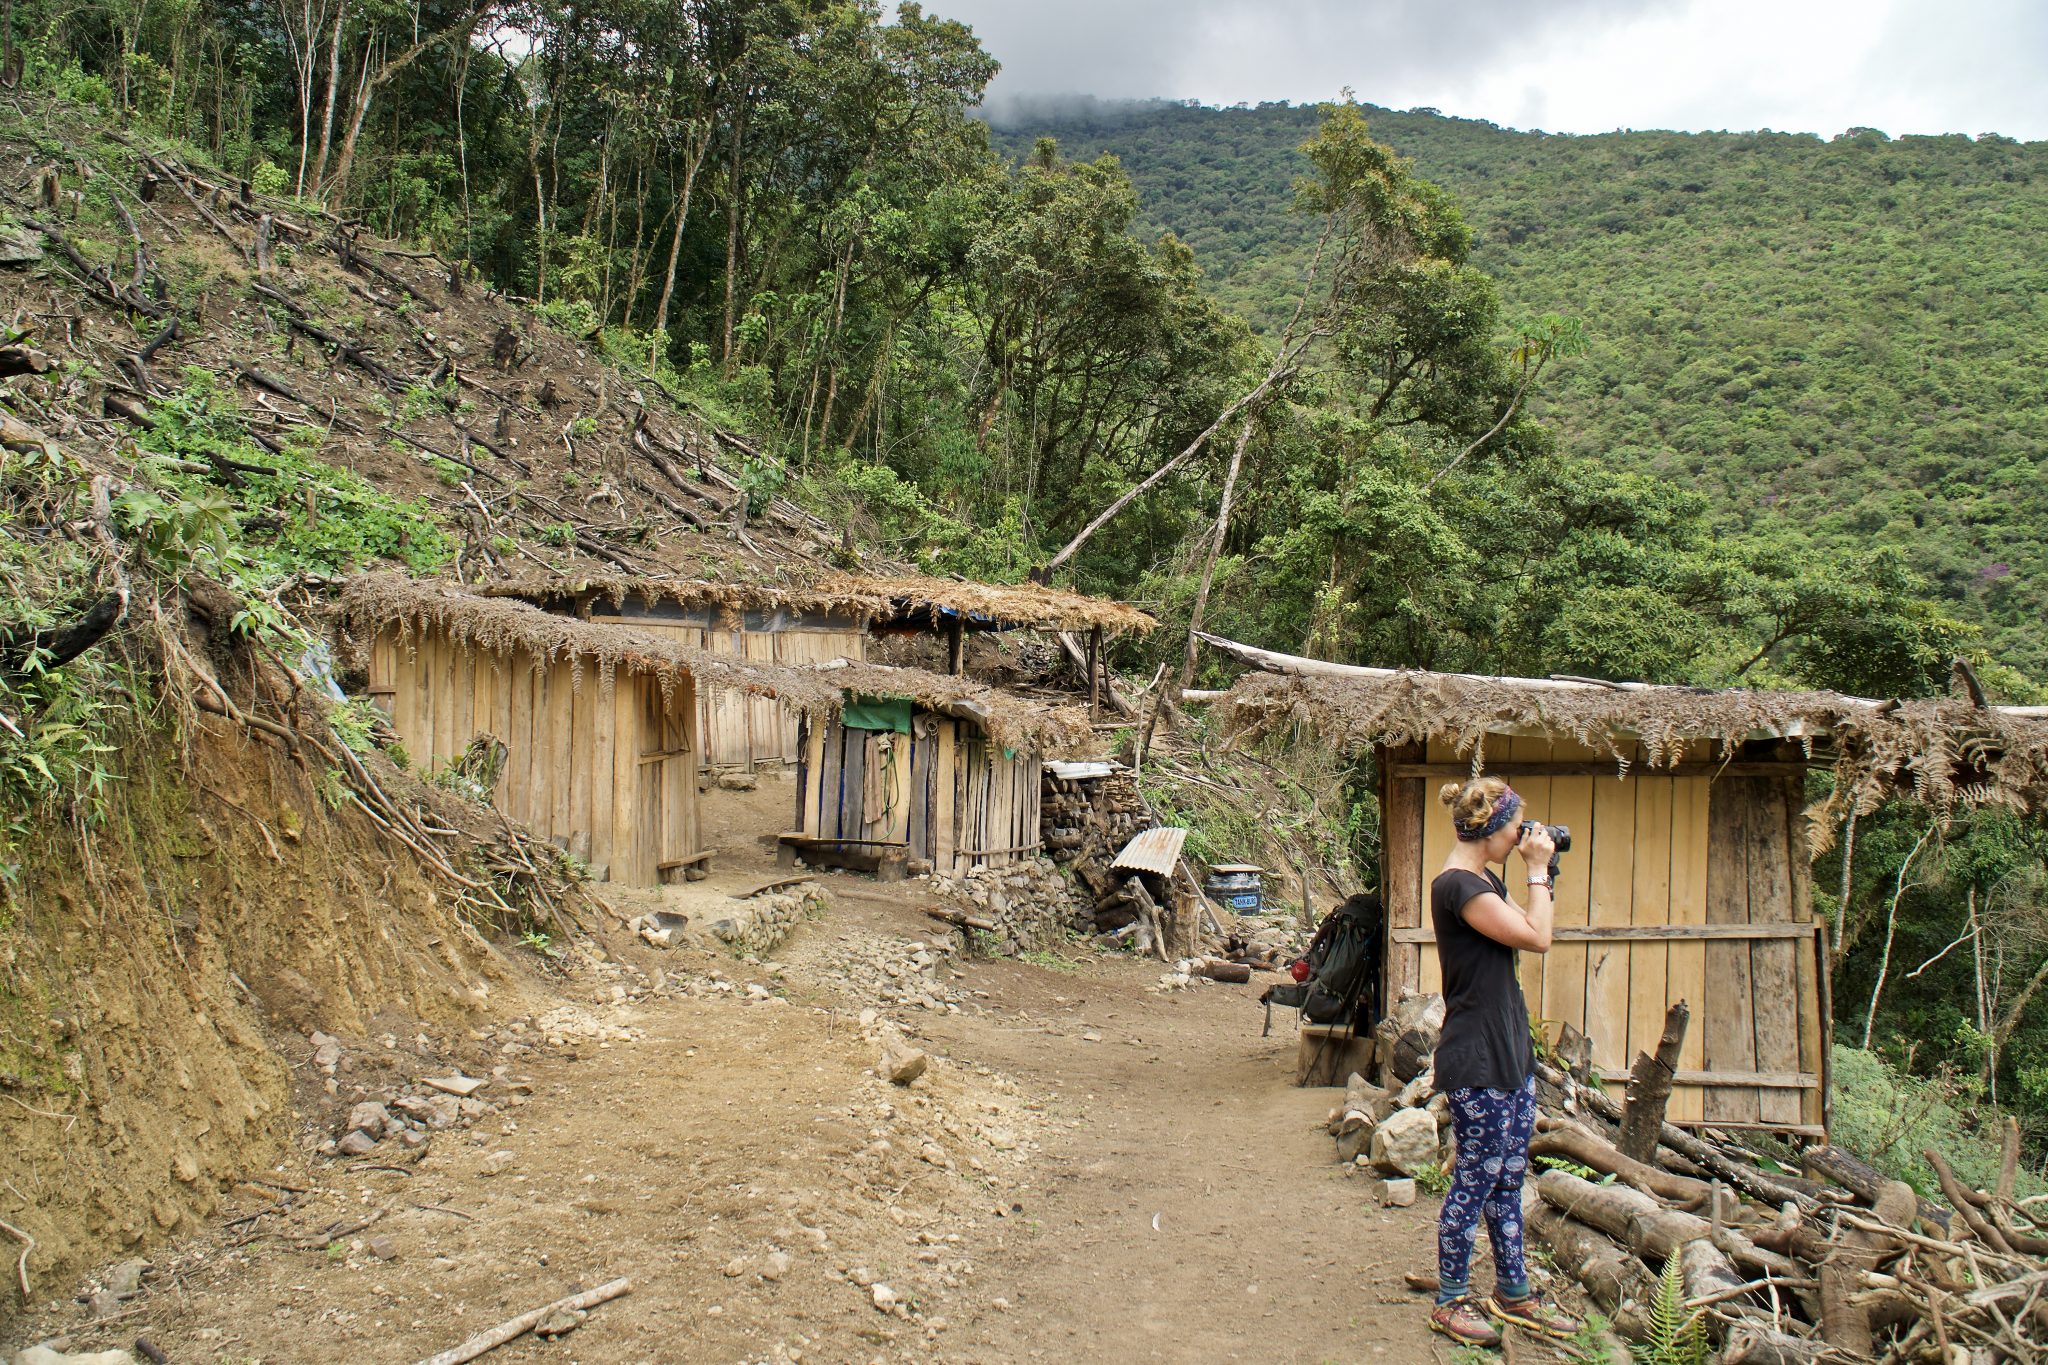
We continued down through the valley, past a lovely little sheep farm (with some fresh lambs, who were super cute to watch) and registered at the office a few more kilometers through the valley. From here, the path got really interesting. It was “paved” in the ancient Inca way, with large rocks tightly packed with dirt, and even had walls on either side of the path for parts of it. It was really quite impressive, but quite difficult to walk on.
And here began the pain.
After a few hours of walking down this path, our knees starting to hurt more and more, we reached the gorgeous little village of Chucura. At this point, we had been walking 11.5km since the top of the hill, and descended over 1,200 metres – that’s about the same depth of the Grand Canyon!
We paid the trail registration to the only human we saw in the entire village (20bs/ ~$6 per person), and continued on our way.


That was our first mistake. Had we known how difficult the rest of day 1 would be, we would have found somewhere to stay in the village. If you, like us, suffer from knee problems, I highly recommend you do this.
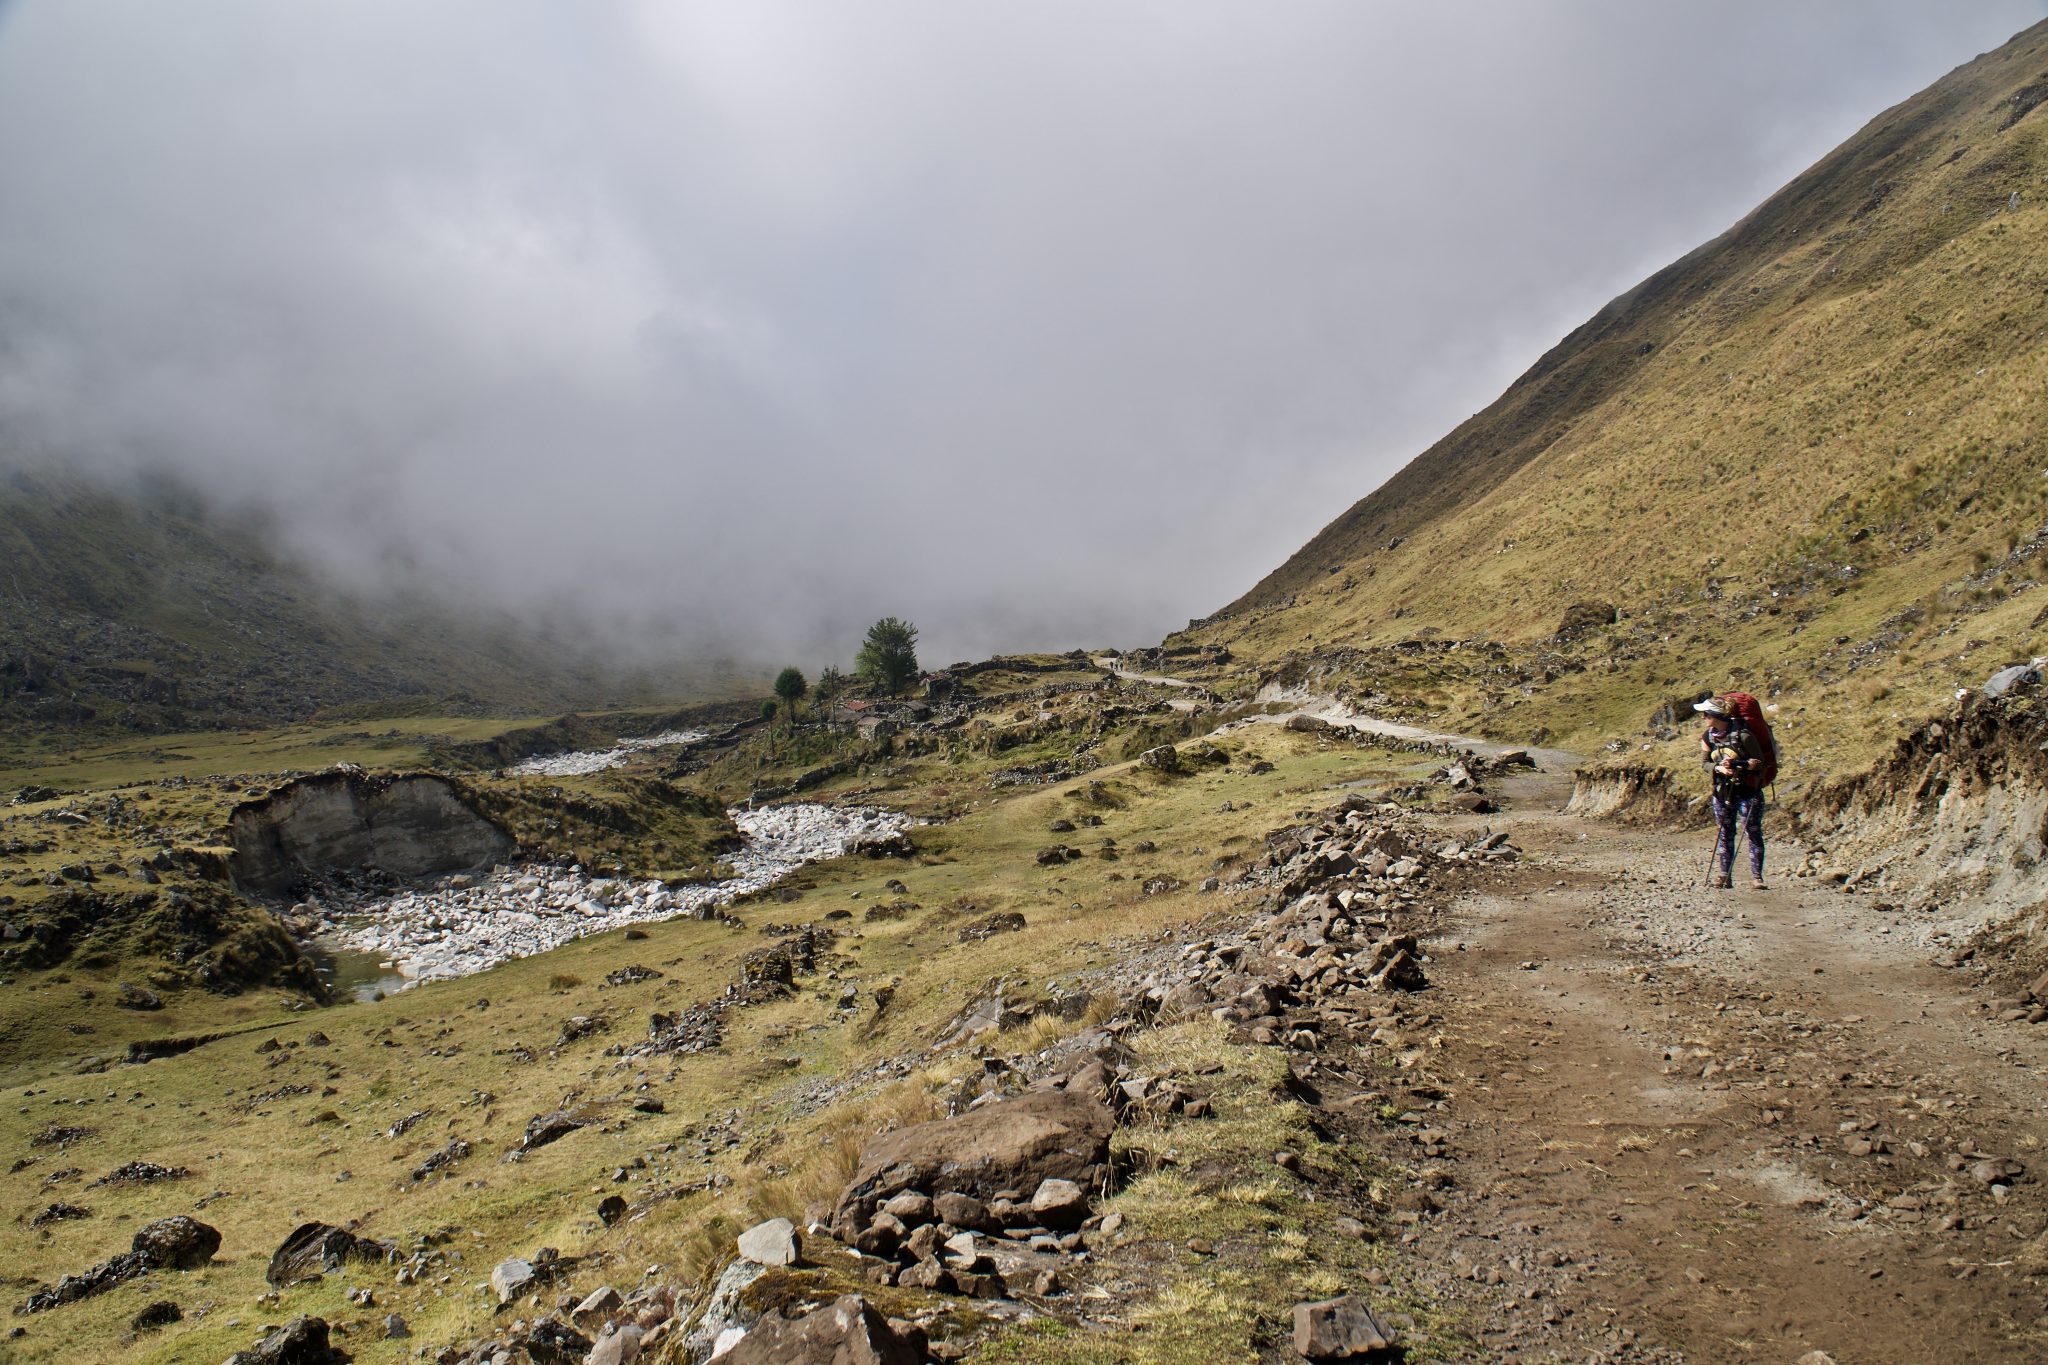
The path was steep, uneven, and relentless. It was at this point that the fog closed in on us, taking away the one distraction we had from the pain – the views of the valley all around us. Clouded in, we hobbled on. Every step we took, the pain in our knees increased. Surely we’re almost there, we thought to ourselves silently. And increasingly vocally as time went on. We passed a makeshift campsite alongside the path and seriously considered camping there, and in hindsight we probably should have. It was a beautiful spot right alongside the river, and would have saved our knees from the carnage to come. But then, it would have added more distance to our second day, so I guess we were screwed either way.
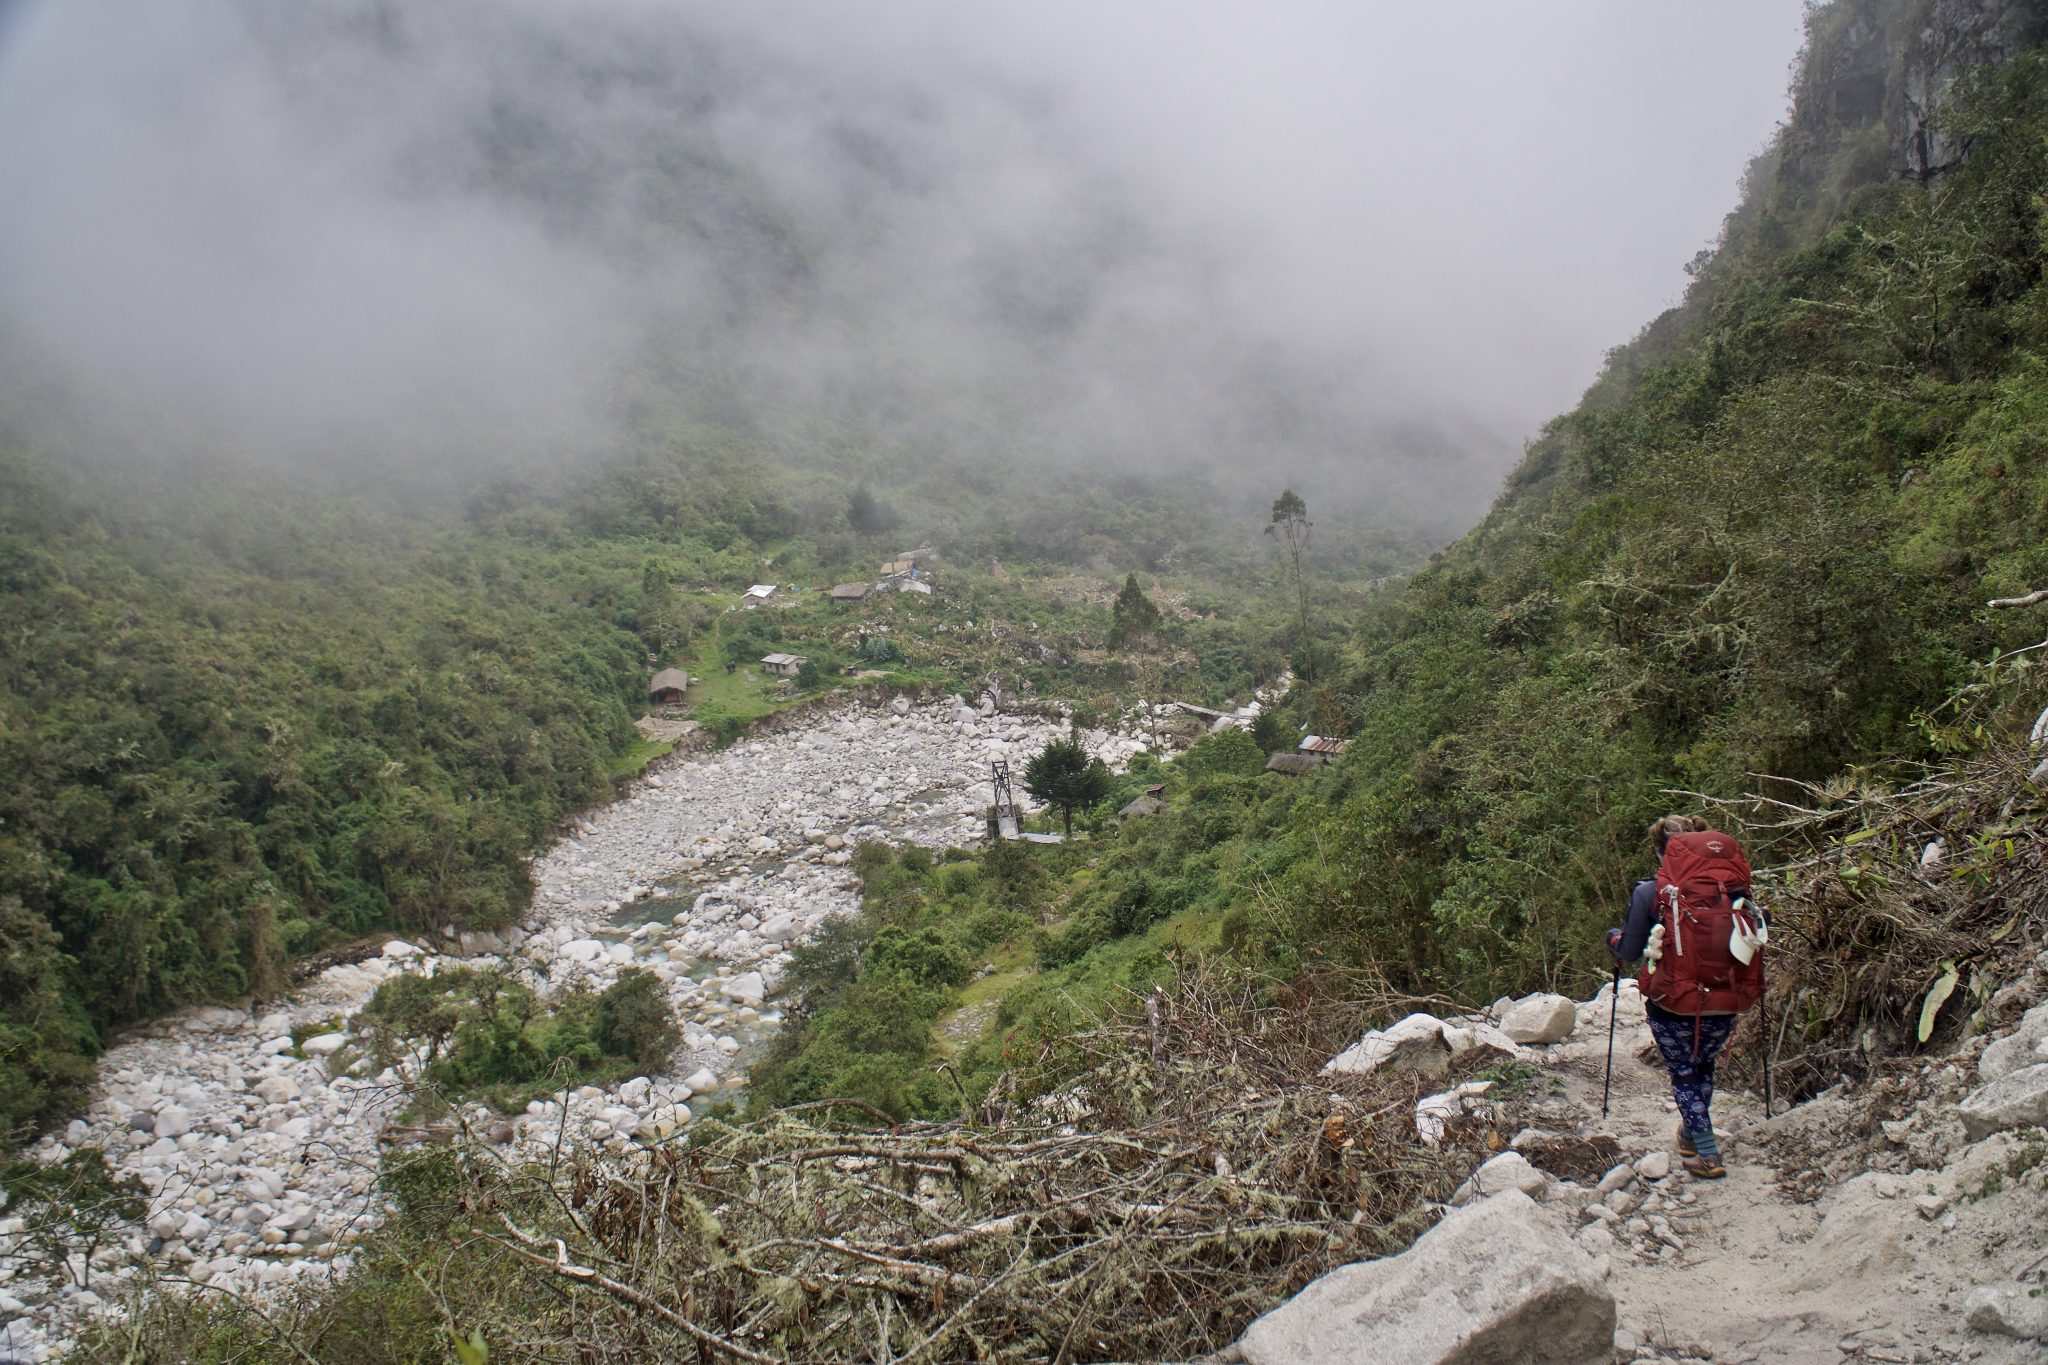
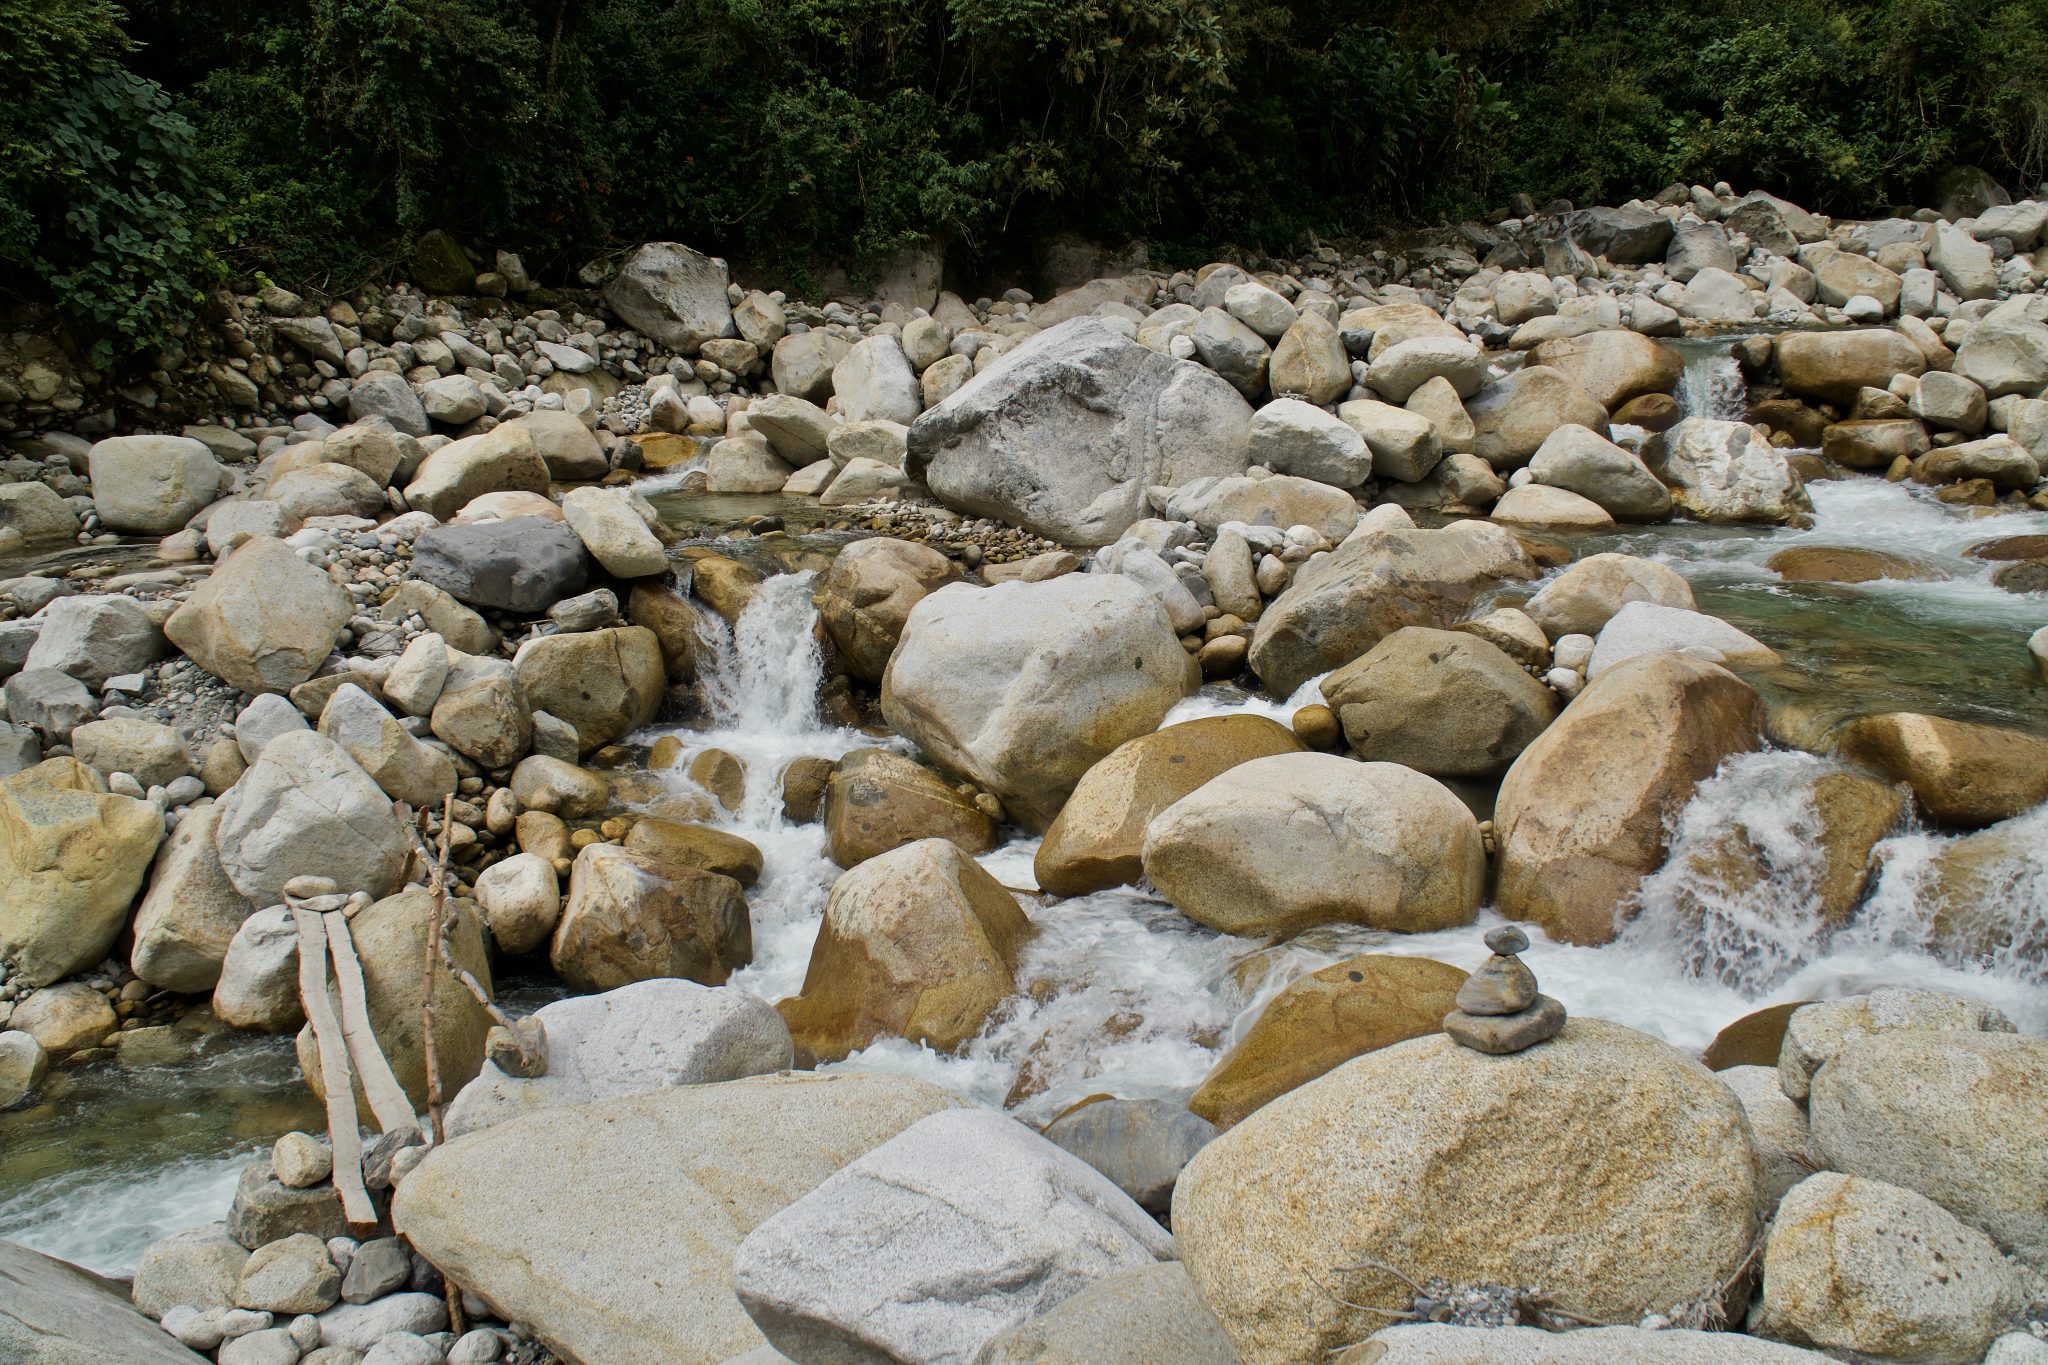
It turns out that to get to our destination campsite, Challapampa, we would need to descend another 800 metres over another 6km. It was brutal. Finally, after what felt like an eternity, we came to an opening with a view of the campsite beyond, just on the other side of the river.
Here we witnessed the first signs of the destruction.
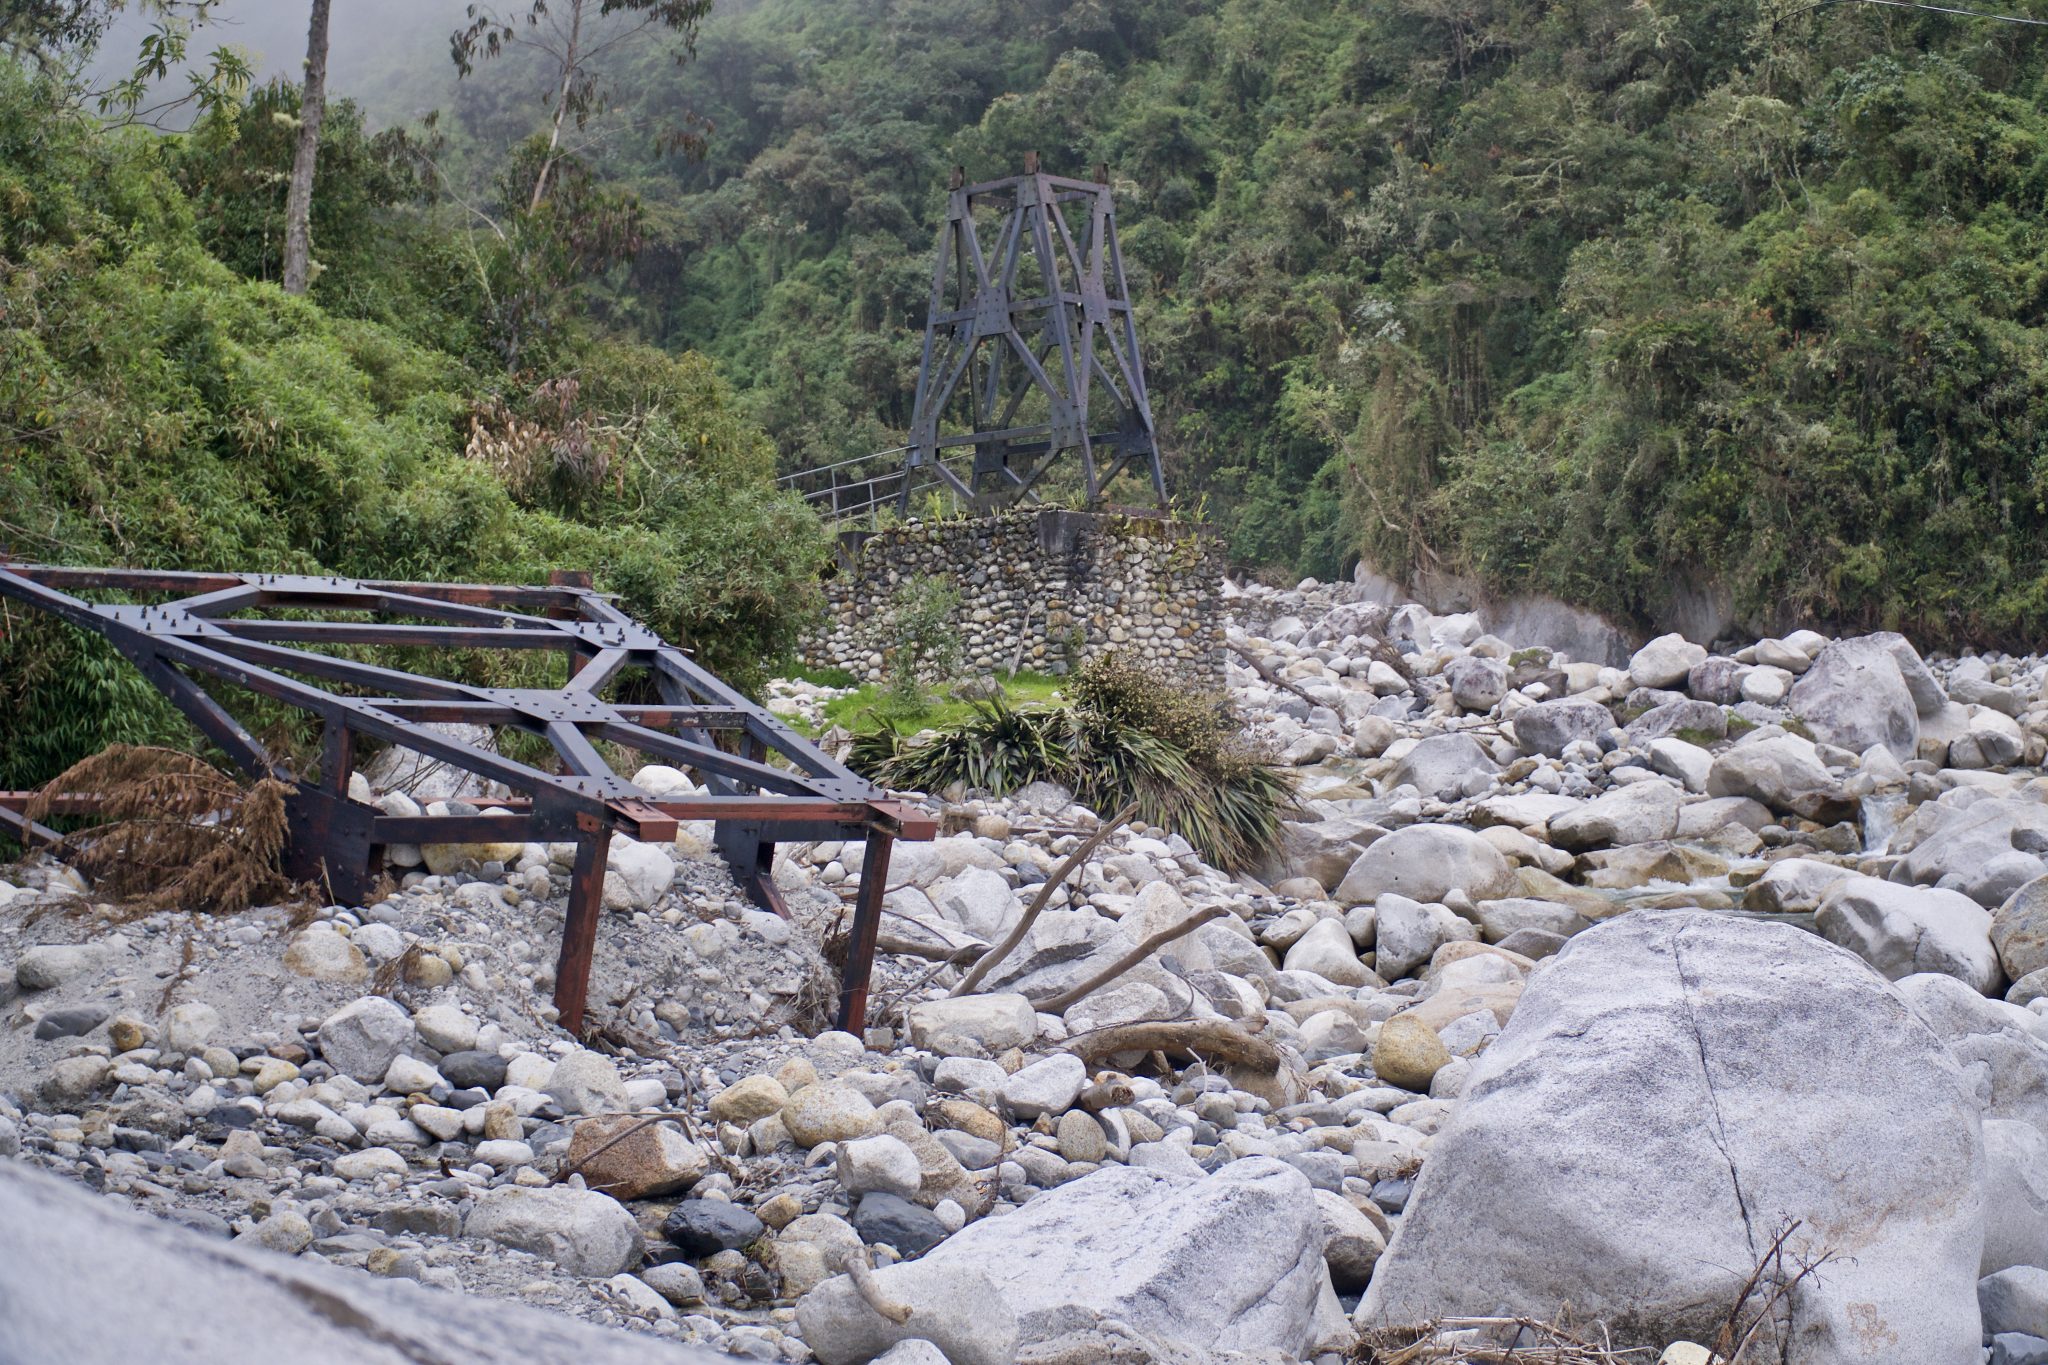
In February 2018, a huge flood occurred in the valley and left a trail of destruction in its wake. At Challapampa, A big chunk of the hillside had collapsed into the river, with the new “trail” requiring scampering over loose sand and rocks to descend the last 50 metres to the river. At the river, we saw that the suspension bridge to the campsite had been totally destroyed, with one of the supporting concrete blocks and metal structure on the wrong side of the river. I can only imagine the force of the flood to move a block that size so far from its original location.
Challapampa campsite had also lost a big chunk of its land in the flood, leaving very little space for tents or facilities.


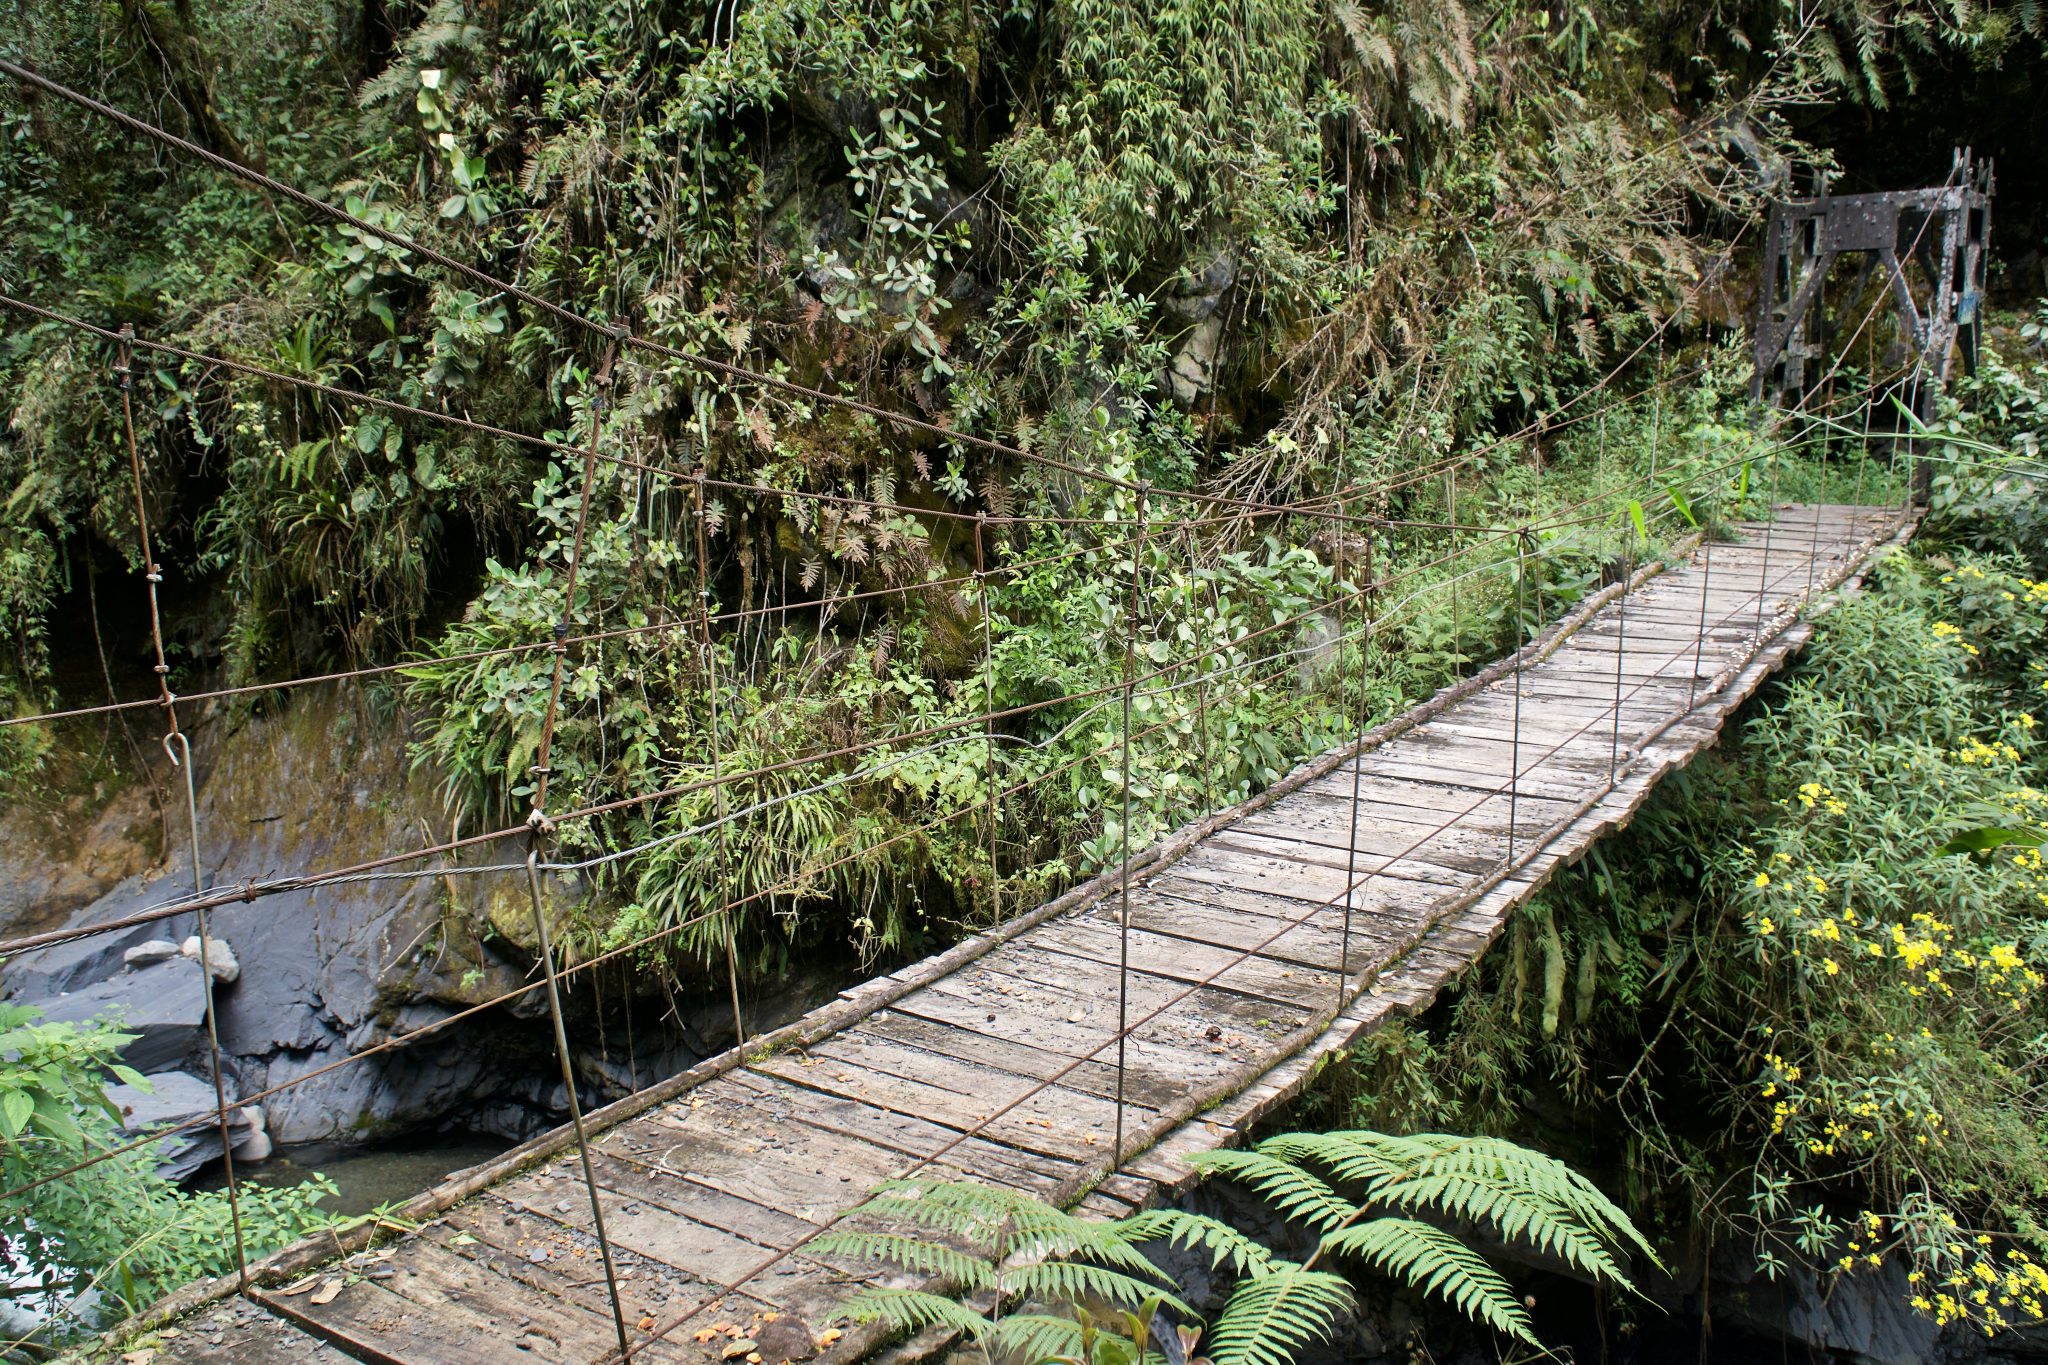
We hobbled down the makeshift path, crossed the makeshift suspension bridge (which was bouncy, with no side rails to hold on to – just a little scary), balanced our way across some wooden planks, crossed a garbage pit, and entered the campsite.
We had walked 21.4km, ascended over 200m in altitude at almost 5,000m above sea level, then descended over 2,000m over the next 17.5km. Our knees were shot, we were exhausted, sore, grumpy and ready for bed. Luckily our dinner was ready (we had leftovers from our dinner in the hostel), so all we had to do was setup our tent, heat up our dinner, and collapse into bed. Phew, what a day!
Day 2 – More pain and destruction
Out of all the hikes we’ve done on this trip (a total of almost 500km walked), this morning was the first time we woke up still in pain from the day before.
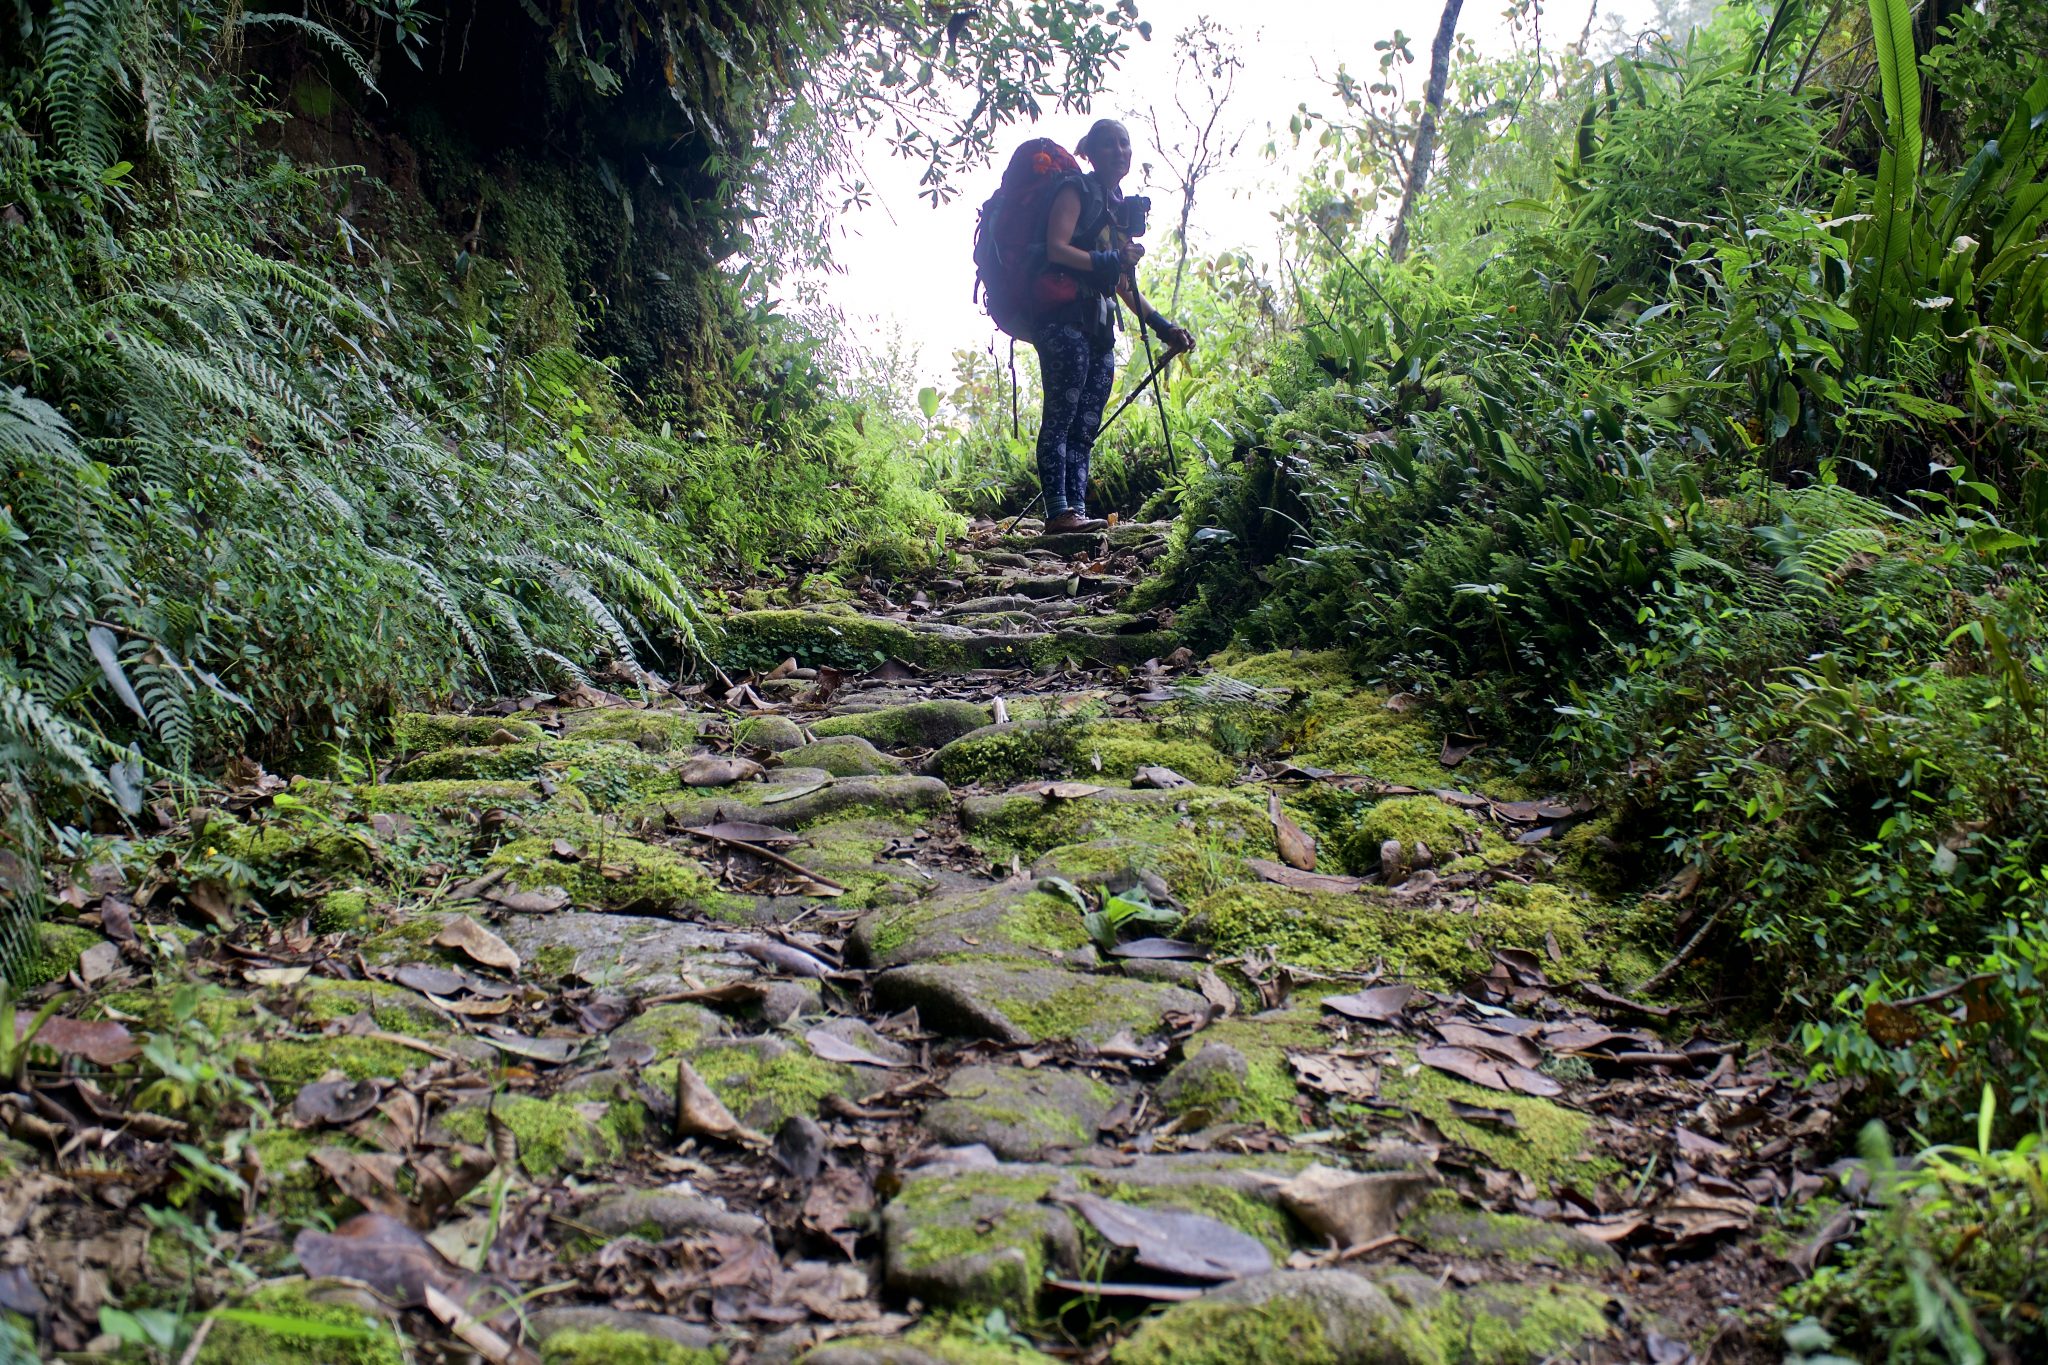
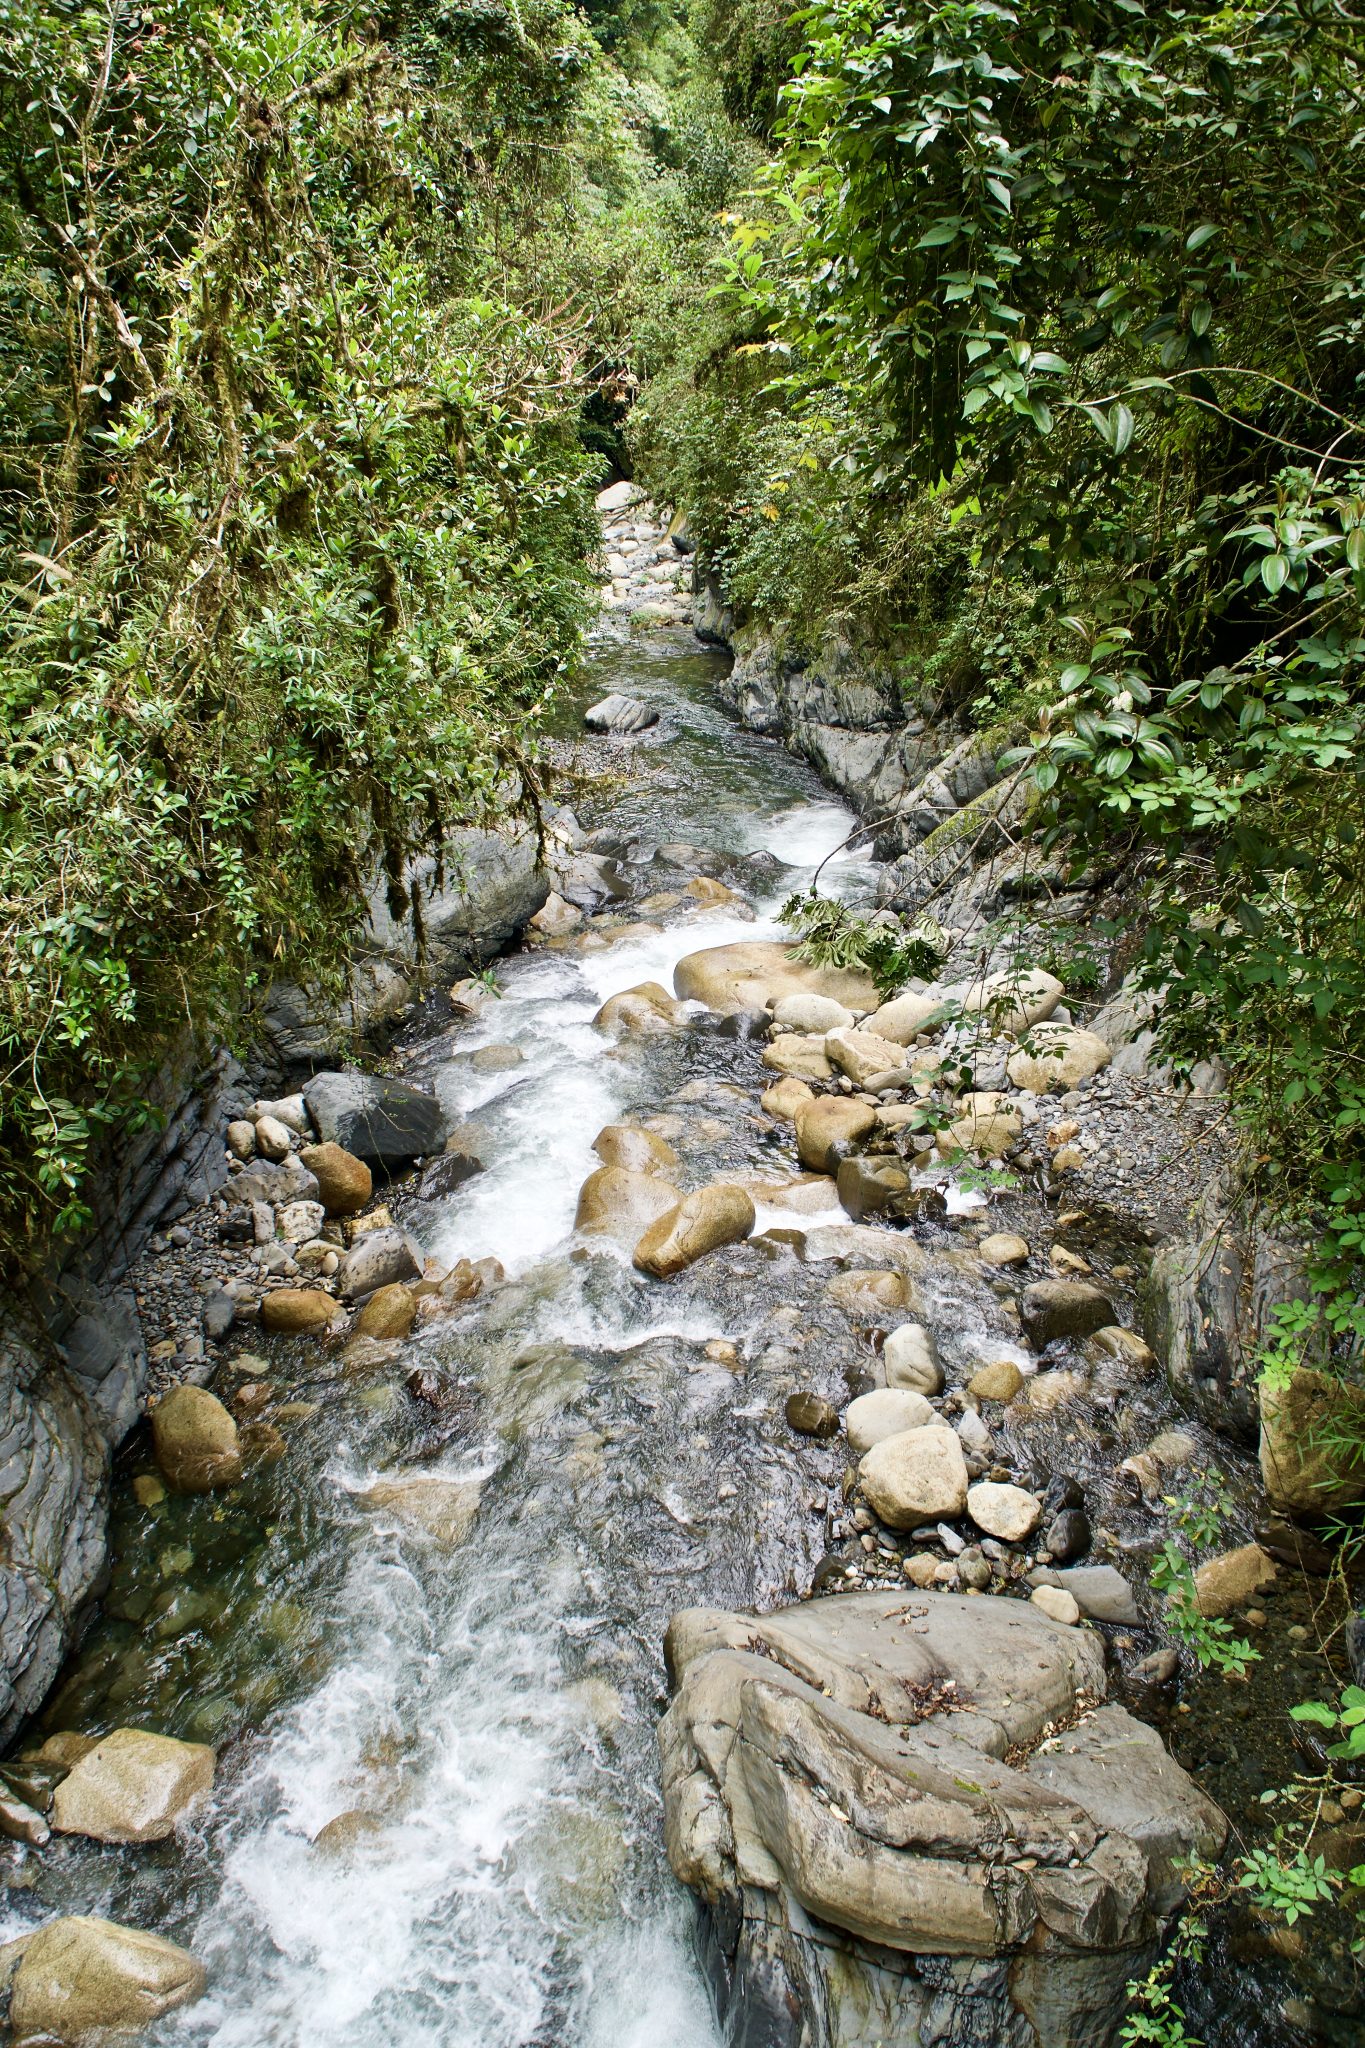
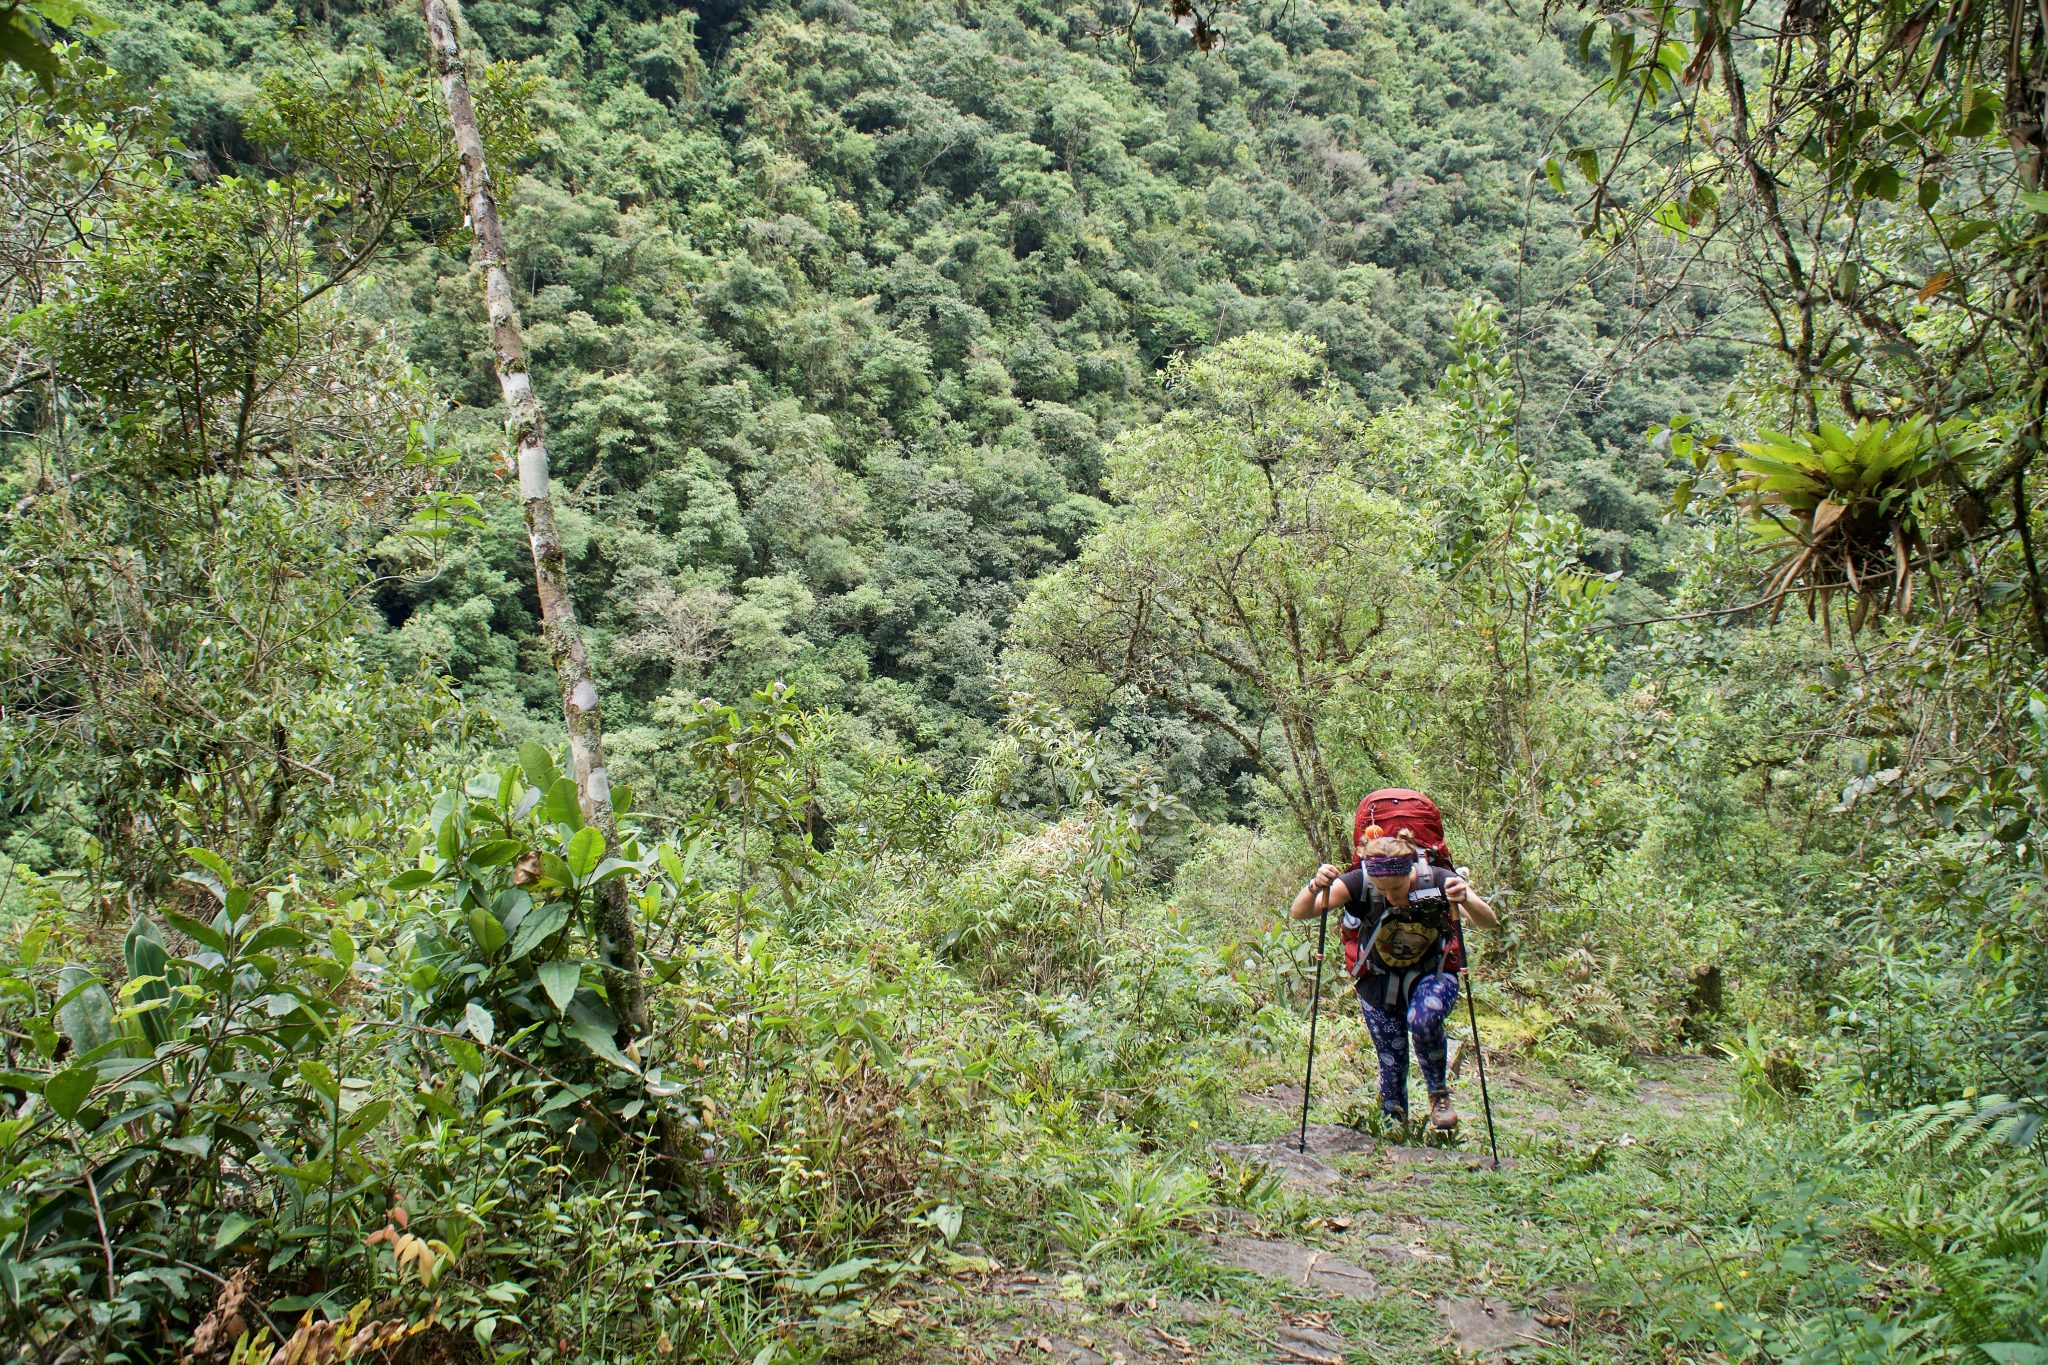
It didn’t improve. Within 30 minutes of leaving camp and continuing downhill, the knee pain had returned. The path was lovely, clinging to the side of the valley in lush green forest. We passed numerous little streams, but being so steep and our knees being so shot, we really struggled.
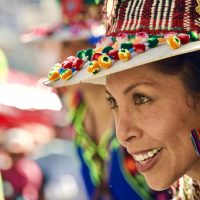
Eventually we reached a little farmstead, where a lovely cholita (Indigenous Bolivian Lady) sold us a Coca Cola and we ate lunch. I dosed up on Ibuprofen (better known as Vitamin-I to those of us with knee ailments) and continued the downward hobble. The path got even steeper, and I found myself walking in such a weird way to prevent the knee pain, that my back started to seize up. Shit, not good!
I dosed up on Codeine at this point, and cruised through the rest of the walk in a kind of daze – happy to have my hard at work monkey mind to distract me from the pain that my body was going through.
Back at the river, we saw more evidence of the flood’s destruction
Luckily, we interpreted the vague sign correctly and headed down to the river. There we saw another makeshift bridge (2 planks suspended across, bendy and wobbly and not fun at all to cross). We also saw the American couple from the campsite walking back towards us from downstream. They’d misinterpreted the sign and walked along the old path, until they reached the bridge and realised that it had been “completely obliterated”. They’d seen some other hikers across the river, who’d shouted to them to head back and look for the “new” bridge. Sucks for them, but then they weren’t in anywhere near as much pain as we were, so glad it wasn’t us.
Walking along the river for a while, we saw Campamento El Choro on the other river bank. It appears to have lost much of the land from the front of it, and we assumed it was closed due to instability of the land.
We followed the makeshift path, cut up some steep climbs, over a little stream, and eventually met up with the original path again. From here, the path rolled up and down without any significant altitude changes, and we found ourselves really enjoying the uphills for a change. We passed through Campamento Buena Vista, which true to its name featured a beautiful view from it’s lovely mantained garden (complete with grazing horses, chickens and dogs).


This campsite was a little past the halfway mark to our next destination, and we had the option to stop there (and leave a huge final day’s walk), but wisely we decided to press on. We powered through, riding our codeine-induced daze, past yet another mangled bridge (this one had an alternative wooden-plank option right underneath it) to Campamento San Francisco – where we would sleep for our second night.
Another 17km complete, we were happy to be able to put down our bags and relax for a while. We set up camp, cooked dinner and collapsed into our tents yet again – this time not just knees sore but calves, back, and egos all battered and bruised.
Day 3 – Just keep walking, just keep walking
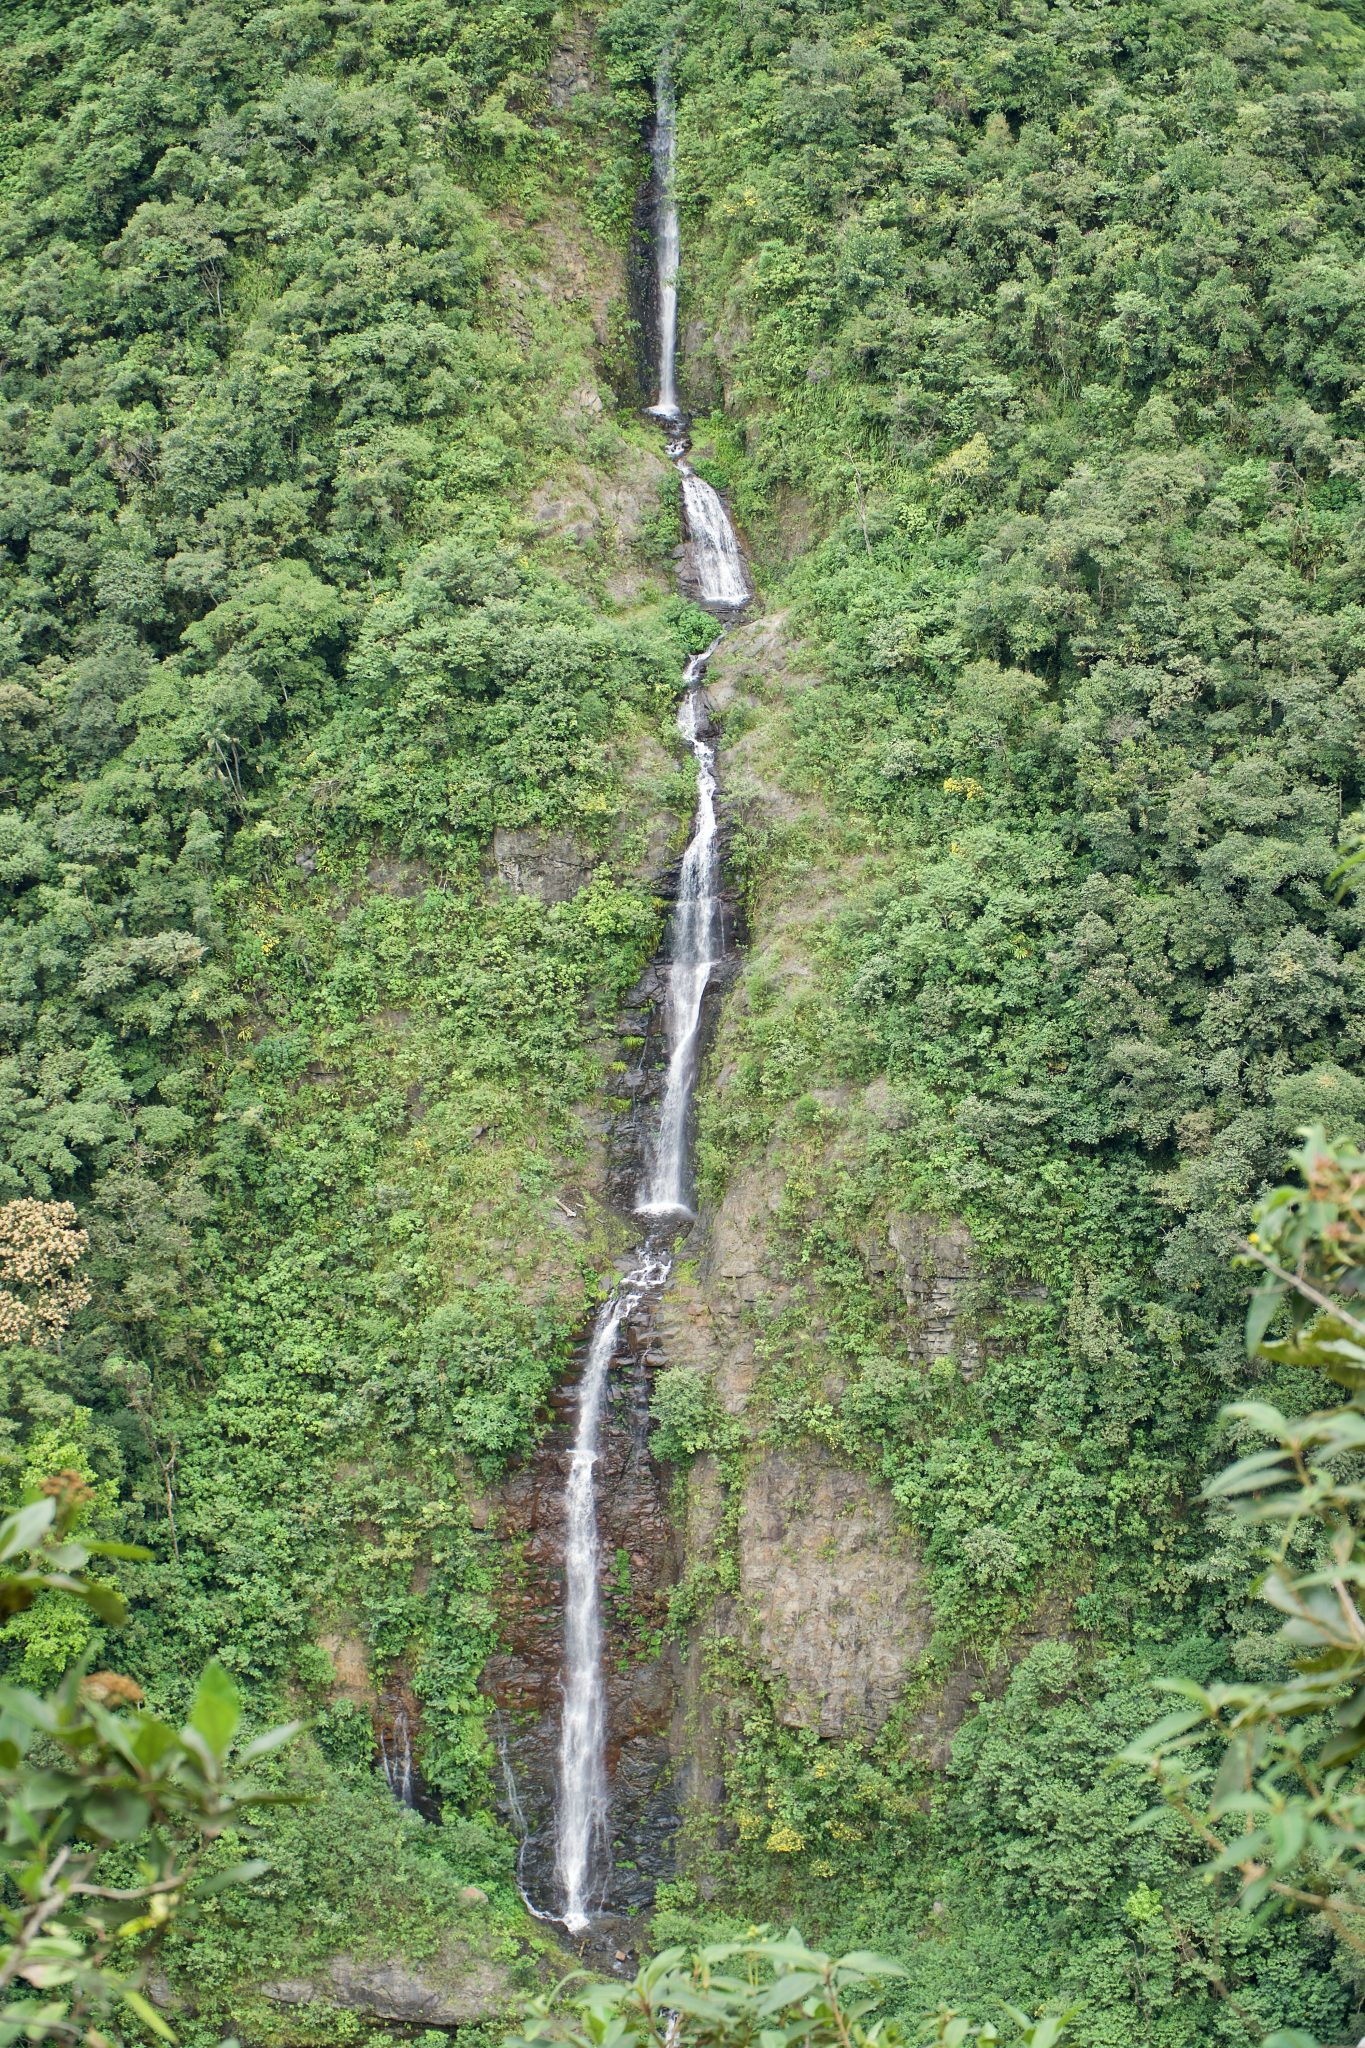
Again, we woke up in pain. Again, we packed up, had breakfast and hit the road. Again, we had no choice but to power through. Luckily, day 3 included a solid amount of uphill climbing. It wasn’t easy by any stretch, but after the pain of every downhill step we’d endured, neither Joey nor I was in any position to complain. Besides, it was beautiful. We passed massive waterfalls, walked along amazingly intact ancient Inca trails, crossed an intact bridge, passed a lovely little farmstead (completely deserted except for a bunch of chickens, aggressive turkeys and a cheeky kitten), saw a Cappucino Monkey in a tree, and eventually made it to the top of the hill – the Japanese House and Casa Sandillani.


We registered at the office here, bought a Coca Cola (our guilty pleasure while hiking), then set off for the home stretch. We took comfort in the words of the lady at the shop, who told us it’s mostly pretty flat, which helped us through the first hour or so. But then it stopped being flat, and for the next 8km we dropped another 700m in elevation. Vitamin-I and Codeine Pulled us through, and step-by-agonising-step we got our weary bodies to the bottom of the hill.
In Chairo we were lucky enough to arrive to a group of hikers who had passed us just 30 minutes before, who were waiting with a taxi for us to arrive. They had already negotiated a price with the taxi driver (100bs for the car, which we split between 6 of us), so we just threw our bags into the car and basked in the glory of moving without walking.
We are now at a lovely little hostel just outside of Coroico called Villa Bonita, where we have a private cabin, hammocks and no internet. A perfect place to relax, recover and get ready for our next adventure.
Should I do the hike?
After reading this far (or perhaps you skipped to here), you may be wondering whether this is a good hike for you to do.
I’m fit and healthy
My advice is this: if you are fit and healthy, and have no knee issues (like we do), then I say go for it. It’s a great hike, and well worth the effort.
But, if you do have knee issues, or squirm at the idea of balance-walking over bendy wooden planks to cross rivers, then I’d think twice.
I have knee issues
If you can handle the dodgy river crossings but are worried about your knees, I would suggestion the following: Do the hike over 4 days. On the first day, stop at the village where you pay the path fee, and camp there. I don’t know exactly where the campsite is, but I know it’s possible as the group in the car at the end of our hike told us they camped there – perhaps ask the man collecting the fee. That’ll cut 8km off the first day, and save your knees for day 2 in which you just have to walk that last 8m of day 1 to Campamento Challapampa. From there, the last 2 days are not that bad.
I wish we’d known about that option ourselves – I feel we would have enjoyed the hike a whole lot more had we broken up day 1 into 2 days. In fact, we were quite jealous of the group when they told us about how they did it in 4 days – that sounded blissful.
Crossing rivers on bendy planks – no way!
If the thought of crossing planks is too much for you, I’d recommend enquiring about the state of the trail. Though, in all honesty, I don’t know who would pay for the amount of repairs needed to get it back to it’s original shape. Replacing those bridges would be costly, and the measly 20bs they collect per hiker would take years to gather enough funds to cover such a project.
Updates
Please do let me know in the comments if you hear of any plans to fix the trail – that would make me very happy. I’ll happily update the blog post with more up to date information as it becomes available.
This is giving me flashbacks to all our South America hikes — so much unknown and trail misinformation! Hopefully someone hiking this trail finds this post first 🙂 Keep up the posts, can’t wait for India ones!
Thanks Abi.. Watch this space for more posts as we make our way through India.